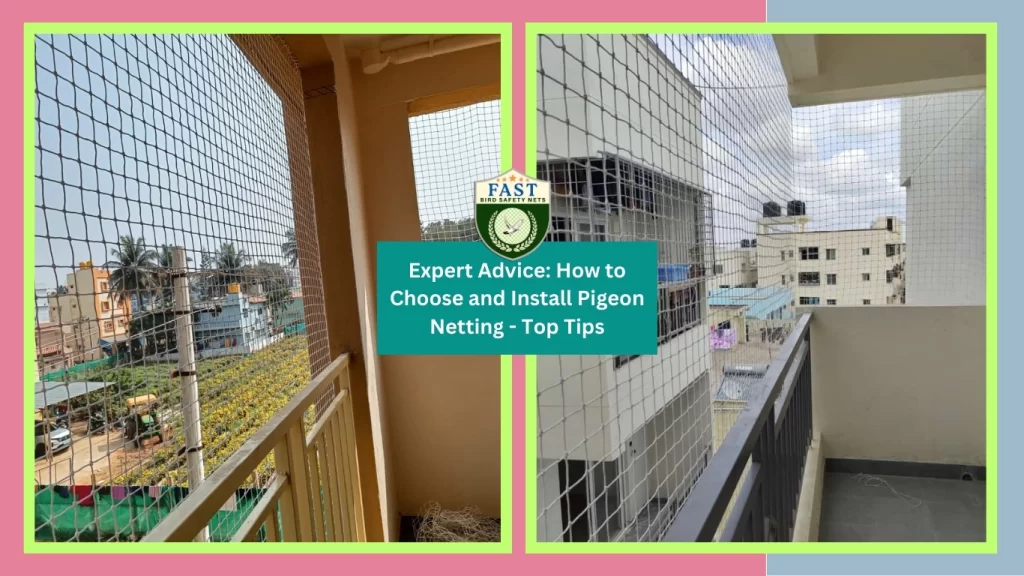

Pigeons can be irritating because they can harm property and endanger human health. Installing pigeon netting is an effective solution to keep them away. However, choosing the right netting and installing it correctly are crucial for optimal results. Here are some expert tips to help you select and install pigeon netting effectively.
1. Assess Your Property: Before purchasing pigeon netting, assess your property to determine the areas where pigeons roost or nest. Look for signs of pigeon activity such as droppings, feathers, or nesting materials. Identify vulnerable areas such as balconies, ledges, rooftops, and air conditioning units.
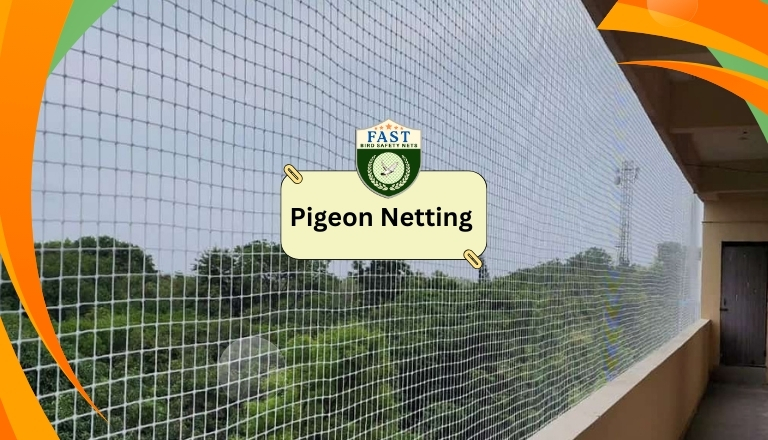
2. Choose the Right Material: Pigeon netting is typically made from materials like polyethylene or nylon. Consider factors such as durability, UV resistance, and mesh size when selecting the material. Opt for netting with small mesh sizes to prevent pigeons from squeezing through.
3. Measure Accurately: Take precise measurements of the areas you intend to cover with pigeon netting. Measure the length, width, and height of the spaces to ensure you purchase the correct amount of netting. It’s better to have slightly more netting than necessary to accommodate any irregularities in the structure.
4. Select the Appropriate Netting Size: Pigeon netting comes in various sizes and dimensions. Choose netting that provides adequate coverage for the targeted areas while allowing for proper tensioning. Ensure the netting is large enough to extend beyond the roosting or nesting sites to prevent birds from accessing them.
5. Consider Installation Method: Decide whether you want to install the pigeon netting yourself or hire professionals. DIY installation may save costs but requires careful planning and execution. Professional installers have the expertise and tools to ensure proper installation, especially for large or complex areas.
6. Prepare the Surface: Clean the surfaces where the netting will be installed to remove debris, bird droppings, and nesting materials. Smooth out any rough spots or protrusions that could damage the netting or hinder proper installation. Make that the surface is completely dry before starting the installation.
7. Install Support Structures: Depending on the layout of your property, you may need to install support structures such as poles, brackets, or cables to secure the pigeon netting. These structures provide the framework for attaching the netting and maintaining tension. Ensure support structures are securely anchored to withstand wind and weather.
8. Secure the Netting: Attach the pigeon netting securely to the support structures using zip ties, clips, or stainless steel wire. Start from one end and work your way across, ensuring the netting is taut and free from wrinkles or sagging. Trim any excess netting carefully to achieve a neat and professional-looking installation.
9. Seal Entry Points: Inspect the perimeter of the netted area for any gaps or openings where pigeons could gain access. Seal these entry points using additional netting, bird spikes, or sealant to prevent birds from bypassing the barrier. Regularly inspect and maintain the netting to address any wear or damage promptly.
10. Monitor Effectiveness: After installing pigeon netting, monitor its effectiveness in deterring pigeons from roosting or nesting on your property. Keep an eye out for any signs of bird activity or attempts to breach the netting. Make adjustments or repairs as needed to ensure continued protection.
Conclusion: Choosing and installing pigeon netting requires careful consideration and attention to detail. By assessing your property, selecting the right materials, and following proper installation techniques, you can effectively deter pigeons and protect your property from damage and health hazards. Invest in quality netting and ensure proper maintenance for long-lasting results.


