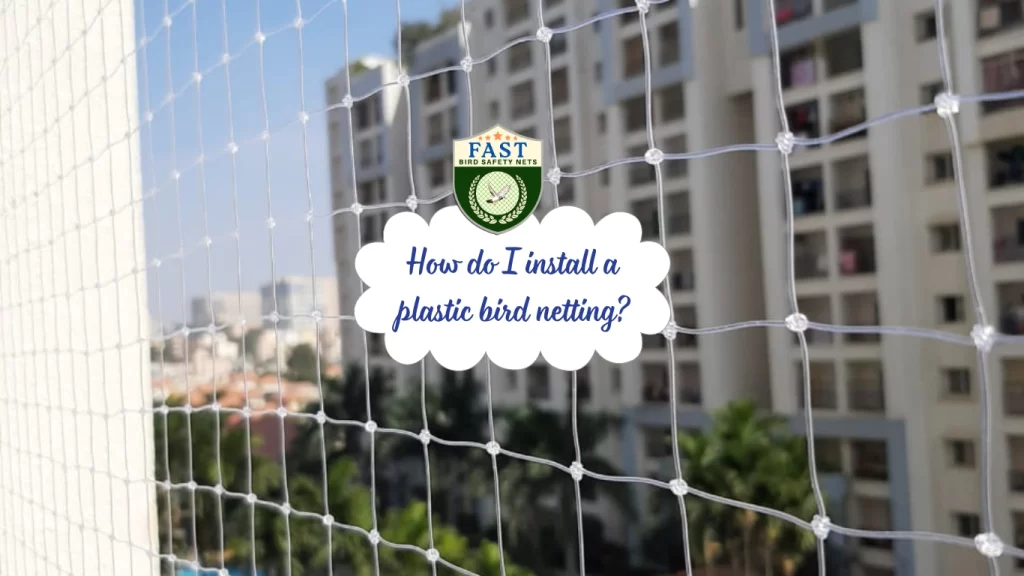
Plastic bird netting is an effective and humane way to protect your property from birds. Whether you want to safeguard your garden, balcony, or any other area, installing bird netting can help keep birds away without harming them. Here’s a detailed step-by-step guide on how to install plastic bird netting.
Materials Needed
- Plastic bird netting
- Measuring tape
- Scissors or a utility knife
- Mounting clips or hooks
- Cable ties or nylon strings
- Ladder (if needed)
- Hammer and nails or a drill and screws (optional)
Step 1: Measure the Area
First, measure the area you want to protect with the bird netting. Measure the length, width, and height (if necessary) to ensure you get enough netting to cover the entire space. It’s always a good idea to buy a little extra netting to account for any mistakes or adjustments.
Step 2: Purchase the Netting and Accessories
Purchase plastic bird netting from a hardware store or online retailer. Ensure the netting is of high quality and UV-resistant for durability. Additionally, get mounting clips, hooks, cable ties, or nylon strings to secure the netting in place.
Step 3: Prepare the Area
Clear the area of any debris or obstacles that might interfere with the installation. If you are installing the netting on a garden, trim any overhanging branches or plants that might get in the way.
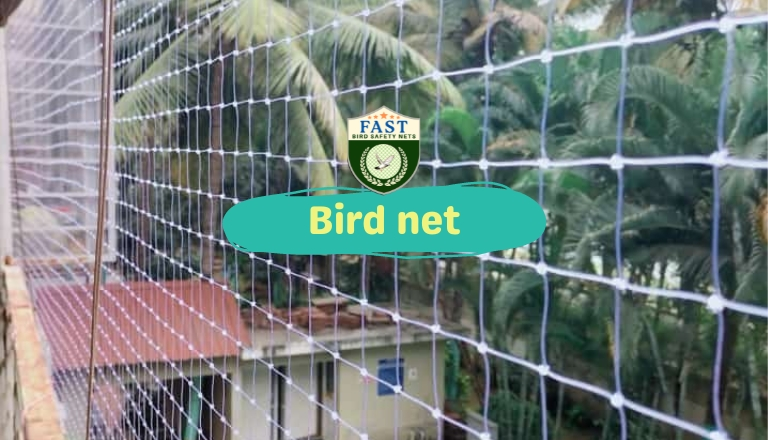
Step 4: Install Mounting Points
Depending on where you are installing the netting, choose the appropriate mounting points:
For Gardens or Open Spaces
- Poles or Stakes: Insert poles or stakes into the ground at regular intervals around the perimeter of the area. Make sure they are secure and stable.
For Balconies or Building Edges
- Hooks or Clips: Attach hooks or clips to the walls, ceiling, or railings where you will secure the netting. Use a hammer and nails or a drill and screws to ensure they are firmly attached.
Step 5: Attach the Netting
Unroll and Cut the Netting
- Unroll the bird netting and cut it to the required size using scissors or a utility knife. Ensure you have enough netting to cover the entire area with a bit of excess for securing.
Secure the Top Edge
- Start by attaching the top edge of the netting to the mounting points. Use cable ties, nylon strings, or the clips/hooks you installed to secure the netting. Ensure it is tight and straight to prevent any sagging.
Secure the Sides and Bottom
- Once the top edge is secure, move to the sides. Attach the netting to the side mounting points, ensuring it remains taut. Finally, secure the bottom edge to prevent birds from slipping underneath. If installing over a garden, you can bury the bottom edge slightly into the ground or secure it with additional stakes.
Step 6: Ensure Proper Tension and Coverage
Check the entire installation to ensure the netting is evenly tensioned and covers the entire area without gaps. The netting should be tight enough to prevent birds from pushing through but not so tight that it tears easily.
Step 7: Test the Installation
Once the netting is installed, test its effectiveness by gently pressing against different areas to ensure it stays in place. Make any necessary adjustments to the mounting points or tension to improve the installation.
Step 8: Regular Maintenance
Regularly inspect the netting for any damage or wear and tear. Replace or repair any damaged sections promptly to maintain its effectiveness. Also, clear any debris that may accumulate on the netting to prevent it from sagging or tearing.
Conclusion
Installing plastic bird netting is a straightforward and effective way to protect your property from birds. By following this step-by-step guide, you can ensure a secure and durable installation that keeps birds away without harming them. Regular maintenance and inspections will help keep the netting in good condition, providing long-lasting protection for your garden, balcony, or other areas.

