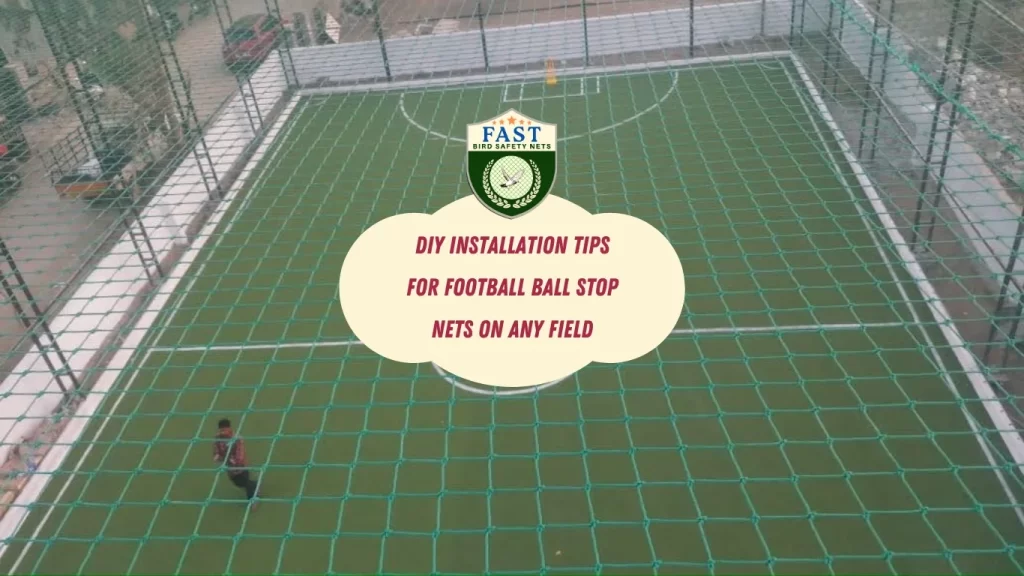
Football ball stop nets are essential for keeping the game on the field and preventing stray balls from causing damage or injury. Installing these nets is a straightforward process with the right guidance. Here’s a comprehensive DIY installation guide to help you set up football ball stop nets on any field.
1. Gather Materials
Before you begin, gather all the necessary materials:
- Football ball stop net
- Poles or posts (metal or PVC)
- Ground stakes or anchors
- Zip ties or rope
- Measuring tape
- Hammer or mallet
- Drill (if necessary)
2. Measure the Area
Measure the length and height of the area where you want to install the ball stop net. This will help you determine the size of the net and the number of poles needed.
3. Purchase the Net and Poles
Based on your measurements, purchase a football ball stop net that fits the dimensions of your field. Choose sturdy poles or posts that can support the net and withstand impacts from footballs.
4. Plan the Layout
Decide on the layout of your net and mark the positions where the poles will be placed. Ensure the poles are spaced evenly along the length of the field to provide adequate support for the net.

5. Install the Poles
Ground Installation
- Use a hammer or mallet to drive ground stakes or anchors into the ground at each marked position.
- Insert the poles or posts into the stakes or anchors and ensure they are secure and upright.
Wall or Fence Installation
- If attaching the net to a wall or fence, use screws or brackets to secure the poles in place.
- Drill pilot holes into the wall or fence, then attach the brackets and insert the poles.
6. Attach the Net
Unroll and Position the Net
- Unroll the football ball stop net and position it along the length of the field, ensuring it is centered and evenly stretched.
Secure the Net to the Poles
- Use zip ties or rope to secure the top edge of the net to the poles, starting from one end and working your way across.
- Ensure the net is taut and free from sagging or wrinkles.
Anchor the Bottom of the Net
- Use additional zip ties or rope to anchor the bottom edge of the net to the ground, fence, or wall.
- This will prevent footballs from rolling under the net and ensure the net remains securely in place.
7. Test the Installation
Once the net is securely attached, test its effectiveness by kicking or throwing a few footballs at different points along the net.
- Ensure the net stops the balls from leaving the field and remains securely in place.
8. Regular Maintenance
- Periodically inspect the net and poles for any signs of damage or wear and tear.
- Replace any damaged components and tighten any loose connections to maintain the effectiveness of the net.
Conclusion
With these DIY installation tips, you can easily set up football ball stop nets on any field, ensuring a safe and enjoyable playing experience for players and spectators alike. By following proper installation techniques and conducting regular maintenance, you can extend the lifespan of the nets and keep your field in top condition for years to come.

