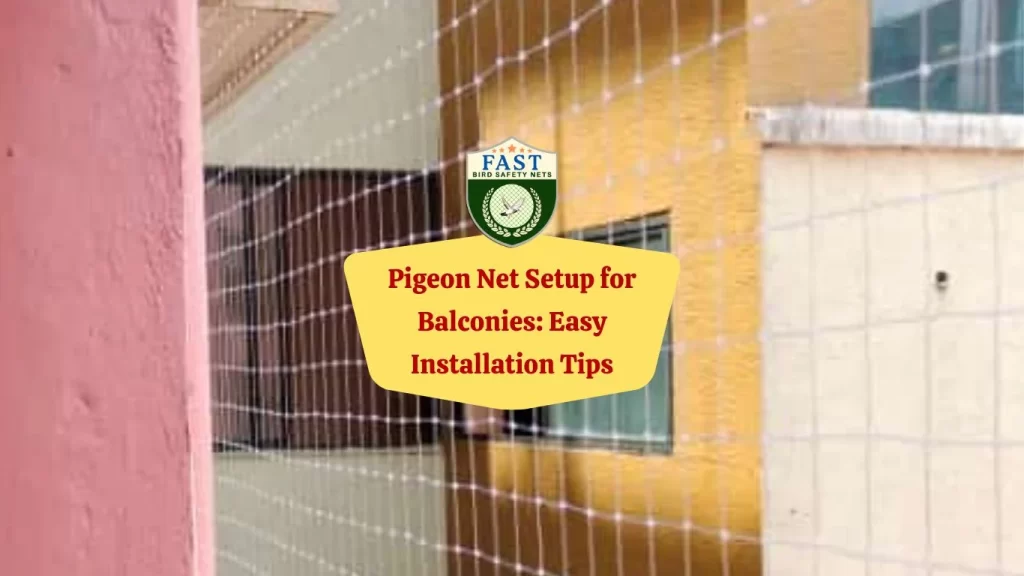

Pigeon Net Setup for Balconies: Easy Installation Tips. Pigeons can be a significant nuisance on balconies, creating messes and posing health risks. Installing pigeon nets is an effective and humane way to keep these birds away. In this blog post, we’ll provide easy installation tips for setting up pigeon nets on your balcony, with insights from Fast Safety Nets Hyderabad.
Why Install Pigeon Nets?
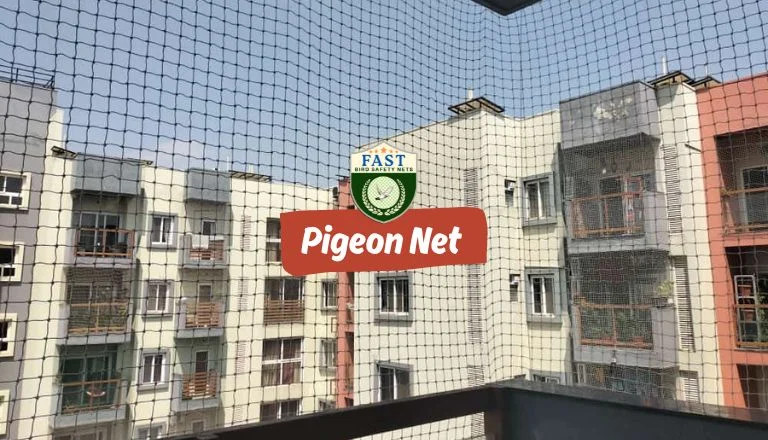
Pigeon nets are designed to create a physical barrier that prevents pigeons from accessing your balcony. They are made from durable materials that can withstand weather conditions and provide a long-term solution for bird control. Here’s how you can easily set up pigeon nets on your balcony.
Step-by-Step Guide to Installing Pigeon Nets
1. Gather the Necessary Materials
Before starting the installation, ensure you have all the required materials:
- Pigeon net
- Measuring tape
- Scissors or a cutter
- Hooks, screws, or adhesive
- Nylon cords or zip ties
- Drill (if using screws)
2. Measure Your Balcony
Accurately measure the area where you plan to install the pigeon net. This includes the width, height, and depth of your balcony. Proper measurements will help you cut the net to the right size and ensure complete coverage.
3. Cut the Net to Size
Using the measurements, cut the pigeon net to the appropriate size using scissors or a cutter. Make sure to leave a little extra on the edges to allow for secure attachment.
4. Prepare the Attachment Points
Decide where you will attach the net. Common attachment points include:
- Balcony railings
- Walls
- Ceiling or overhangs
Use a drill to create holes for hooks or screws if you are using them. Alternatively, you can use adhesive hooks for a non-invasive option.
5. Secure the Top Edge of the Net
Start by attaching the top edge of the net to the ceiling or overhang of your balcony. Use hooks, screws, or adhesive hooks spaced about 1 foot apart to ensure the net is securely held in place.
6. Attach the Sides and Bottom
Next, attach the sides of the net to the walls or balcony railings. Make sure the net is taut and covers the entire side area. Finally, secure the bottom edge of the net to the balcony floor or railing using hooks, screws, or nylon cords.
7. Tighten and Adjust
Once all edges of the net are secured, go around and tighten any loose areas. Ensure that the net is taut and there are no gaps where pigeons could squeeze through.
8. Inspect the Installation
Carefully inspect the entire installation to ensure the net is secure and there are no entry points for pigeons. Make any necessary adjustments to tighten the net or secure any loose ends.
Maintenance Tips
- Regular Inspections: Periodically check the net for any signs of wear or damage. Repair any holes or loose areas promptly.
- Cleaning: Keep the net clean by removing any debris or bird droppings. This will maintain its appearance and effectiveness.
- Tightening: Over time, the net may become loose. Regularly tighten the net to ensure it remains effective.
Conclusion
Installing pigeon nets on your balcony is a straightforward process that can significantly reduce pigeon-related problems. By following these easy installation tips, you can create a pigeon-free environment on your balcony. For professional assistance and high-quality pigeon nets, contact Fast Safety Nets Hyderabad. Their expertise and reliable products will ensure a hassle-free and effective solution to your pigeon problems. Enjoy a clean and peaceful balcony with the help of Fast Safety Nets Hyderabad!


