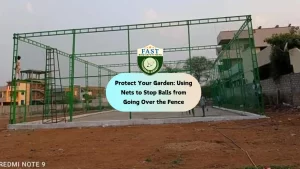

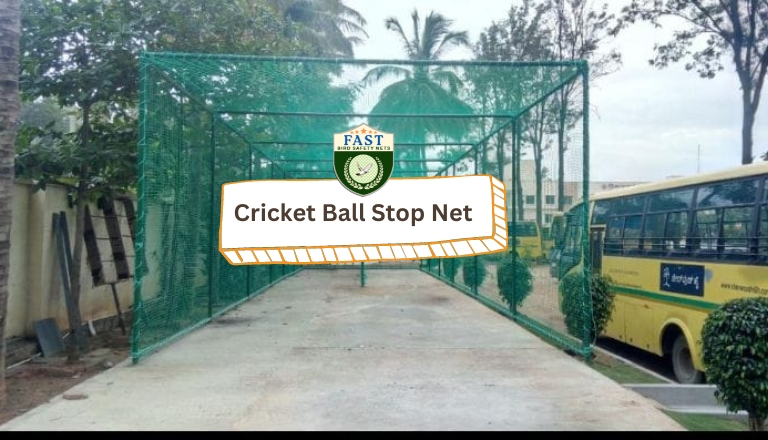
Cricket is a sport that requires precision and power, but with these elements comes the risk of cricket balls going astray during practice. Cricket ball stop netting is essential for ensuring the safety of players, spectators, and property. Here’s a comprehensive guide on installing cricket ball stop netting to create a safe practice environment.
1. Importance of Cricket Ball Stop Netting
Cricket ball stop netting provides several key benefits:
- Safety: Protects players, coaches, and spectators from stray balls.
- Property Protection: Prevents damage to nearby buildings, vehicles, and other property.
- Practice Efficiency: Allows uninterrupted practice sessions by containing balls within the practice area.
- Peace of Mind: Reduces the risk of injury and property damage, ensuring a safer environment.
2. Choosing the Right Cricket Ball Stop Netting
Selecting appropriate netting is crucial for effectiveness:
- Material: Opt for durable, weather-resistant materials such as high-density polyethylene (HDPE).
- Mesh Size: Choose a mesh size that can effectively stop cricket balls, typically around 50mm to 80mm.
- Strength: Ensure the netting is strong enough to withstand the impact of cricket balls hit at high speeds.
3. Measuring the Installation Area
Accurate measurements are essential for a proper fit:
- Measure the height, width, and length of the area you want to cover.
- Consider any obstacles or unique features that may require special adjustments to the netting.
4. Gathering Tools and Materials
Prepare all necessary tools and materials before beginning the installation:
- Cricket ball stop netting
- Measuring tape
- Scissors or a utility knife
- Heavy-duty zip ties, carabiners, or nylon ropes
- Poles or frames for support
- Hooks, screws, and wall plugs (if attaching to existing structures)
- Drill with appropriate drill bits
- Ladder or step stool
5. Preparing the Area for Installation
Proper preparation ensures a smooth installation process:
- Clear the area of any debris or objects that might hinder installation.
- If using poles, ensure they are securely anchored in the ground.
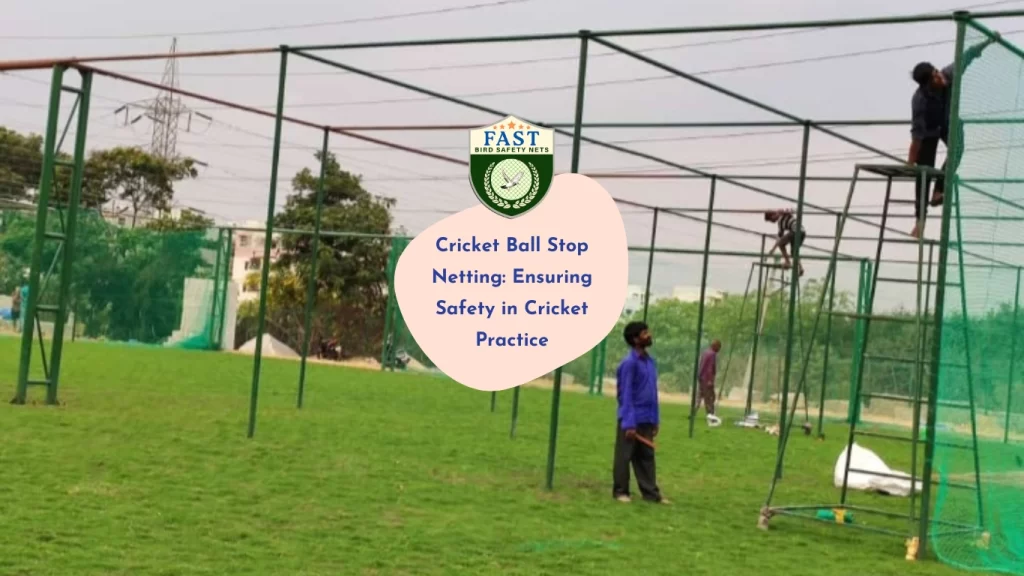
6. Installing Support Structures
Set up the support structures for the netting:
- Install poles or frames at appropriate intervals around the practice area.
- Ensure that the support structures are tall and sturdy enough to hold the netting taut.
7. Attaching the Netting
Secure the netting to the support structures:
- Start by attaching one corner of the netting to a support pole or frame using zip ties, carabiners, or rope.
- Continue securing the netting along the top edge, ensuring it is evenly spaced and taut.
- Attach the sides and bottom of the netting, maintaining tension to avoid sagging.
- Regularly check the tension and fit as you attach the netting to ensure complete coverage.
8. Final Adjustments and Securing Edges
Ensure the netting is properly and securely installed:
- Tighten any loose sections and secure edges with additional zip ties, carabiners, or rope.
- Trim any excess netting for a neat appearance.
- Inspect the installation to ensure there are no gaps or weak points where balls could escape.
9. Regular Maintenance
Maintain the effectiveness of your cricket ball stop netting with regular upkeep:
- Inspect the netting periodically for signs of wear or damage.
- Clean the netting as needed to remove dirt and debris.
- Repair any tears or loosened areas promptly to ensure continuous safety.
Conclusion
Cricket ball stop netting is essential for creating a safe practice environment, protecting players, spectators, and property from stray cricket balls. By selecting the right netting, accurately measuring and preparing the installation area, and following a thorough installation process, you can enhance the safety and efficiency of cricket practice sessions. Regular maintenance will ensure the netting remains in good condition, providing long-term protection and peace of mind.