
Balcony Protection: Step-by-Step Pigeon Net Installation. Protecting your balcony from pigeon infestations is essential for maintaining cleanliness and safety. Fast Safety Nets Hyderabad offers a comprehensive guide for installing pigeon nets on balconies, ensuring effective protection against avian intruders. This step-by-step blog post provides detailed instructions to help you install pigeon nets on your balcony with ease.
Step-by-Step Guide to Pigeon Net Installation on Balconies:
- Assessment: Evaluate your balcony to determine the areas vulnerable to pigeon roosting or nesting. Identify potential entry points and spaces where pigeons may land or perch.
- Material Preparation: Gather the necessary tools and materials for installation, including the pigeon net, cable ties, hooks or brackets, scissors, measuring tape, and a ladder.
- Cleaning: Thoroughly clean the balcony surface to remove dirt, debris, and bird droppings. Ensure that the area is dry and free from any obstacles that may hinder installation.
- Measuring: Measure the dimensions of your balcony accurately to determine the size of the pigeon net needed. Take into account any obstacles such as railings or protruding structures.
- Securing Hooks or Brackets: Install hooks or brackets along the balcony edges or walls at regular intervals to support the pigeon net. Ensure that they are firmly attached and capable of bearing the weight of the net.
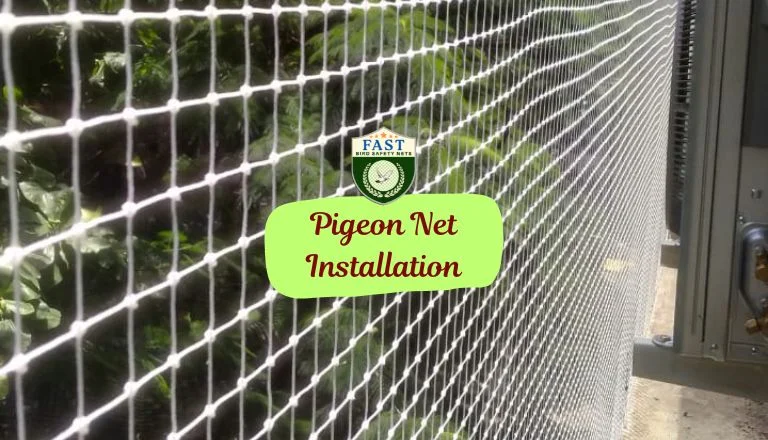
- Attaching the Net: Unroll the pigeon net and position it over the balcony area, ensuring that it covers the entire space. Secure the net to the hooks or brackets using cable ties or fastening clips. Start from one end and work your way across, pulling the net taut as you go.
- Trimming Excess: Trim any excess netting using scissors, leaving a small margin to ensure a neat and tidy appearance. Take care not to cut the net too close to the fastenings to avoid compromising its integrity.
- Securing Edges: Secure the edges of the pigeon net firmly to prevent birds from accessing gaps or openings. Double-check all attachment points to ensure they are secure and properly sealed.
- Final Inspection: Step back and inspect the installation from various angles to ensure that the pigeon net is securely attached and provides complete coverage. Make any necessary adjustments to ensure optimal protection.
- Post-Installation Care: Periodically inspect the pigeon net for signs of wear or damage, especially after severe weather conditions. Replace any damaged components promptly to maintain effective protection.
Conclusion: By following these step-by-step instructions, you can install pigeon nets on your balcony effectively and ensure protection against avian intruders. Fast Safety Nets Hyderabad offers high-quality pigeon nets and professional installation services to help you safeguard your balcony and enjoy a clean and bird-free environment.


