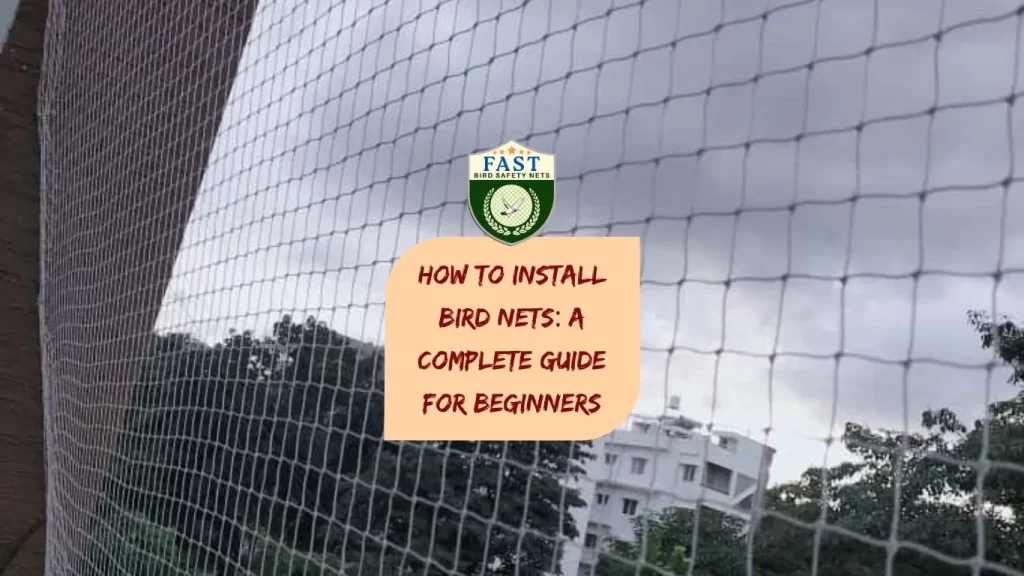
Birds, particularly pigeons, can cause numerous problems for property owners. Installing bird nets is an effective way to control these issues. Here’s a complete guide for beginners on how to install bird nets, with insights from Fast Safety Nets Hyderabad.
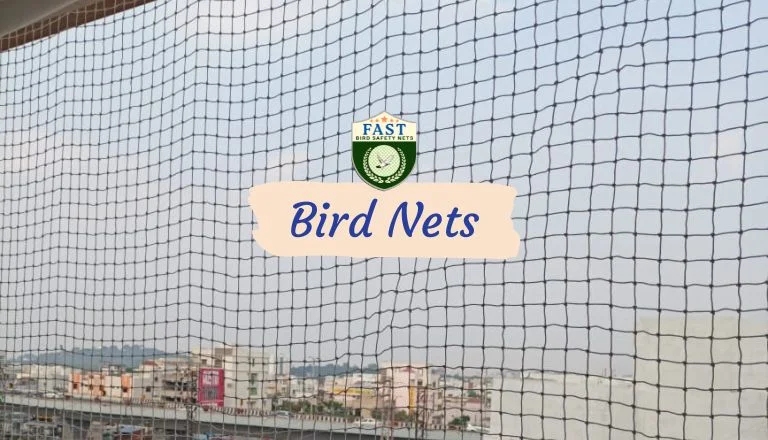
Materials Needed
- Bird Netting: Durable, weather-resistant netting suitable for your specific needs.
- Mounting Hardware: Hooks, screws, or nails to attach the net.
- Cable Ties or Clips: To secure the netting to the hardware.
- Measuring Tape: For accurate measurements of the installation area.
- Scissors or Cutting Tool: To cut the net to the required size.
- Drill: If you need to drill holes for mounting hardware.
- Ladder: To reach higher installation points safely.
- Gloves: To protect your hands during installation.
Step-by-Step Installation Guide
- Assess the Area:
- Identify the areas that require netting, such as balconies, windows, rooftops, or air conditioning units.
- Measure the dimensions of each area to determine the amount of netting required.
- Choose the Right Netting:
- Select netting that is appropriate for the type of birds you are dealing with. Fast Safety Nets Hyderabad offers various types of netting for different bird species and environments.
- Prepare the Installation Area:
- Clear any debris or obstructions from the area.
- Ensure the surfaces where the net will be attached are clean and dry.
- Install Mounting Hardware:
- Mark the spots where you will attach the mounting hardware.
- Use a drill to make holes if necessary.
- Secure the hooks, screws, or nails in place.
- Cut the Netting to Size:
- Lay the netting out flat and use a measuring tape to mark the required dimensions.
- Cut the netting with scissors or a cutting tool.
- Attach the Netting:
- Begin attaching the netting to the mounting hardware, starting from one corner.
- Use cable ties or clips to secure the netting to the hooks, screws, or nails.
- Ensure the netting is taut and free from gaps where birds could enter.
- Secure and Tighten:
- Go around the perimeter of the netting, securing it firmly to the hardware.
- Check for any loose areas and tighten as needed.
- Final Inspection:
- Once the netting is installed, conduct a thorough inspection to ensure it is properly secured and there are no gaps.
- Make any necessary adjustments to ensure complete coverage.
- Maintenance:
- Regularly check the netting for any wear and tear.
- Replace or repair any damaged sections to maintain effectiveness.
Tips for Effective Installation
- Safety First: Always use a sturdy ladder and have someone assist you if needed. Wear gloves to protect your hands.
- Proper Tension: Ensure the netting is stretched tight to prevent birds from getting through or entangled.
- Quality Materials: Use high-quality netting and hardware to ensure durability and long-lasting protection.
Why Choose Fast Safety Nets Hyderabad?
- Expertise: With years of experience, they provide professional advice and services.
- Quality Products: They offer a range of durable and weather-resistant netting materials.
- Customization: They provide customized solutions tailored to your specific needs.
- Professional Installation: Their team of experts ensures efficient and secure installation.
Conclusion
Installing bird nets is a practical solution to prevent bird-related issues on your property. By following this complete guide, you can achieve effective and secure installation. For the best results, consider partnering with Fast Safety Nets Hyderabad for high-quality materials and professional installation services.

