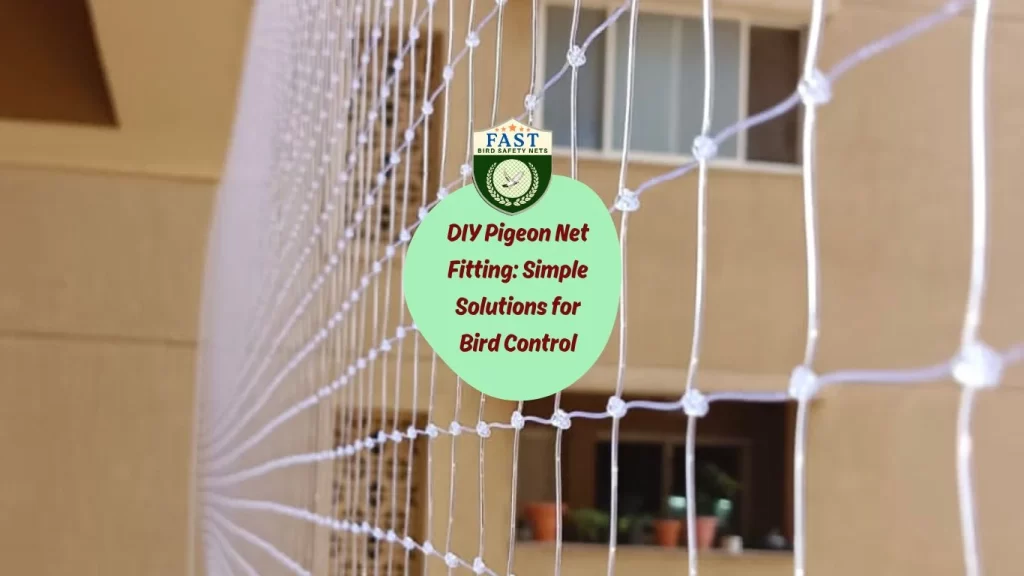
Are you tired of pigeons causing a mess on your balcony or around your property? Installing a pigeon net can be an effective and humane solution to keep these birds at bay. Here’s a step-by-step guide to DIY pigeon net fitting:
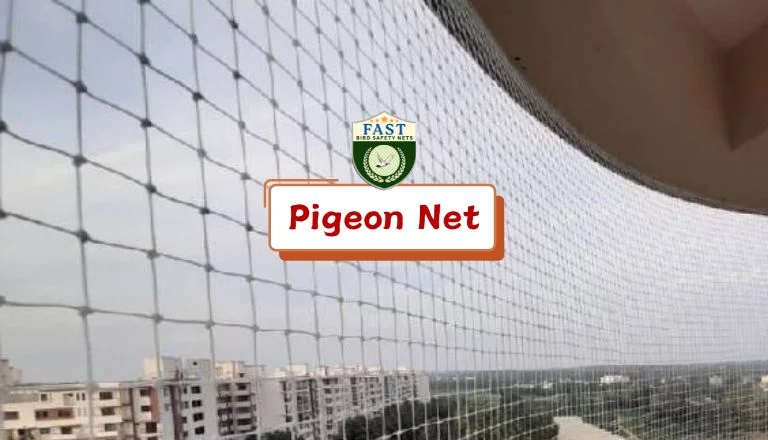
Materials Needed:
- Pigeon Net: Ensure you have a high-quality, durable net that is suitable for outdoor use.
- Netting Clips or Cable Ties: These will help secure the netting firmly in place.
- Ladder: To safely reach and work on elevated areas like balconies or roofs.
- Measuring Tape: Essential for accurately measuring the area you need to cover.
- Scissors: To cut the netting to the required size.
- Gloves: Protect your hands during installation.
- Safety Glasses: Optional but recommended for eye protection.
Step-by-Step Installation Guide:
- Measure the Area: Start by measuring the length and width of the area where you want to install the pigeon net. This will help you determine the size of netting you need.
- Cut the Netting: Use scissors to cut the netting to the measured size. Leave a few extra inches on each side to ensure it covers the area adequately.
- Secure the Netting: Begin by securing one corner of the netting using netting clips or cable ties. Make sure it is tightly secured to prevent birds from getting through.
- Work Across the Area: Gradually work your way across the area, securing the netting along the edges using clips or ties every few feet. Pull the netting taut as you go to ensure there are no gaps where birds could enter.
- Overlap Seams: If you need to use multiple pieces of netting to cover a larger area, overlap the seams by several inches and secure them tightly to prevent birds from finding a way through.
- Final Check: Once the netting is in place, double-check all the edges and seams to ensure they are securely fastened. Trim any excess netting if necessary.
- Test the Installation: Walk around the area and look for any gaps or loose spots where pigeons could potentially enter. Make adjustments as needed to ensure a snug fit.
- Maintenance: Periodically inspect the netting for any signs of wear or damage. Repair or replace any damaged sections promptly to maintain its effectiveness.
Benefits of DIY Pigeon Net Fitting:
- Cost-Effective: Installing the netting yourself can save on installation costs.
- Custom Fit: You can tailor the netting to fit specific areas of your property.
- Humane Solution: Provides a safe and humane way to deter pigeons without harming them.
- Long-Term Solution: Properly installed netting can provide long-lasting bird control.
By following these simple steps, you can effectively protect your property from pigeons and enjoy a cleaner, safer environment. For more information on pigeon netting solutions or professional installation services, contact Fast Safety Nets Hyderabad.
Ready to say goodbye to pigeon problems? Start your DIY pigeon net fitting project today!

