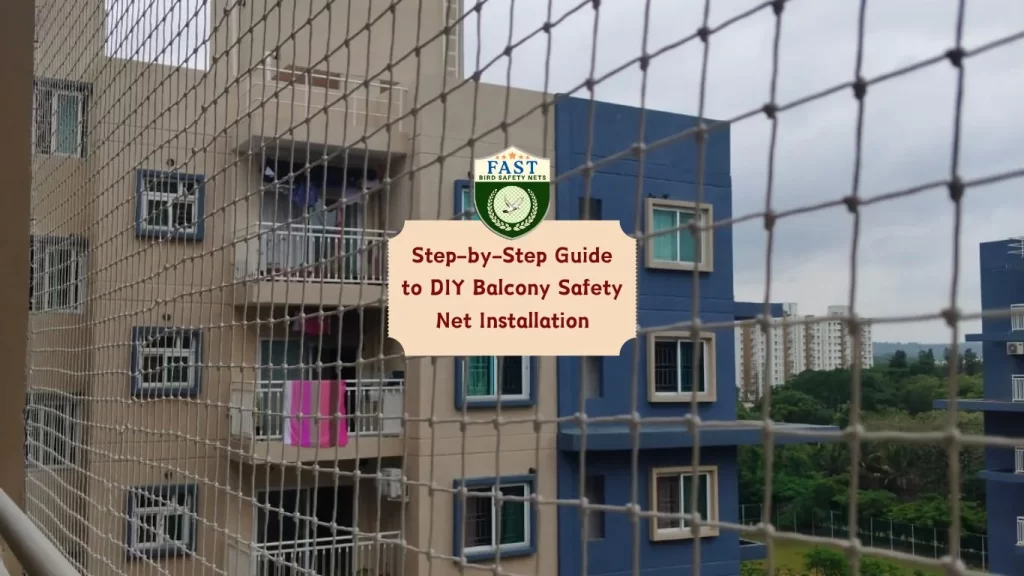

Ensuring the safety of your balcony is crucial, especially if you have children, pets, or a desire to prevent birds from entering. While professional installation is recommended for optimal results, you can also install balcony safety nets yourself with some basic tools and guidance. Fast Safety Nets Hyderabad provides high-quality safety nets and this step-by-step guide to help you through the DIY Balcony Safety Net Installation process.
Materials and Tools You’ll Need
- Balcony safety net (provided by Fast Safety Nets Hyderabad)
- Measuring tape
- Scissors or a cutting tool
- Nylon or polypropylene rope
- Mounting hooks or wall plugs
- Drill
- Screwdriver
- Ladder
- Safety gloves
Step-by-Step Installation Guide
Step 1: Measure Your Balcony Area
- Use the measuring tape to measure the height and width of the balcony area where you want to install the net.
- Note down the measurements to ensure you cut the net to the correct size.
Step 2: Cut the Net to Size
- Spread out the safety net and use scissors to cut it to the dimensions you measured.
- Leave a few extra inches on each side to allow for secure fastening.
Step 3: Install Mounting Hooks
- Determine the spacing for your mounting hooks. They should be spaced approximately 12-18 inches apart along the balcony edges.
- Using the drill, make holes for the mounting hooks at the marked positions.
- Insert the wall plugs and screw the hooks into place securely.
Step 4: Attach the Net to the Hooks
- Starting at one corner, begin attaching the net to the hooks using the rope.
- Weave the rope through the netting and around each hook to ensure it is tightly secured.
- Continue this process along the entire perimeter of the balcony.
Step 5: Tighten and Secure the Net
- Once the net is attached to all hooks, go back and tighten any loose areas to ensure the net is taut and secure.
- Double-knot the rope at each hook for added security.
Step 6: Inspect the Installation
- Thoroughly inspect the entire installation to ensure there are no gaps or loose areas.
- Make any necessary adjustments to ensure the net is securely fastened and provides full coverage.
Tips for Successful Installation
- Choose the Right Net: Ensure you are using a high-quality, UV-stabilized net from Fast Safety Nets Hyderabad for durability and effectiveness.
- Work with a Partner: Having someone assist you can make the installation process easier and safer.
- Safety First: Use a sturdy ladder and wear safety gloves to protect your hands during the installation.
- Regular Maintenance: Periodically check the Balcony Safety Net Installation for any signs of wear and tear, and tighten or replace sections as needed.
Benefits of DIY Installation
- Cost Savings: Save on professional installation fees.
- Customization: Install the net exactly how you want it, ensuring it fits your specific needs.
- Satisfaction: Enjoy the satisfaction of completing a home improvement project yourself.
Conclusion
Installing a balcony safety net yourself can be a rewarding and cost-effective way to ensure the safety of your loved ones and protect your property. With high-quality nets from Fast Safety Nets Hyderabad and this step-by-step guide, you can achieve professional results on your own. For more information or to purchase safety nets, contact Fast Safety Nets Hyderabad today.