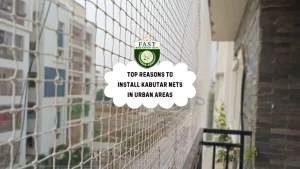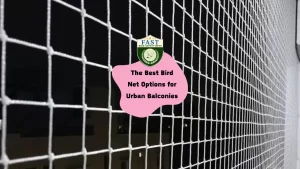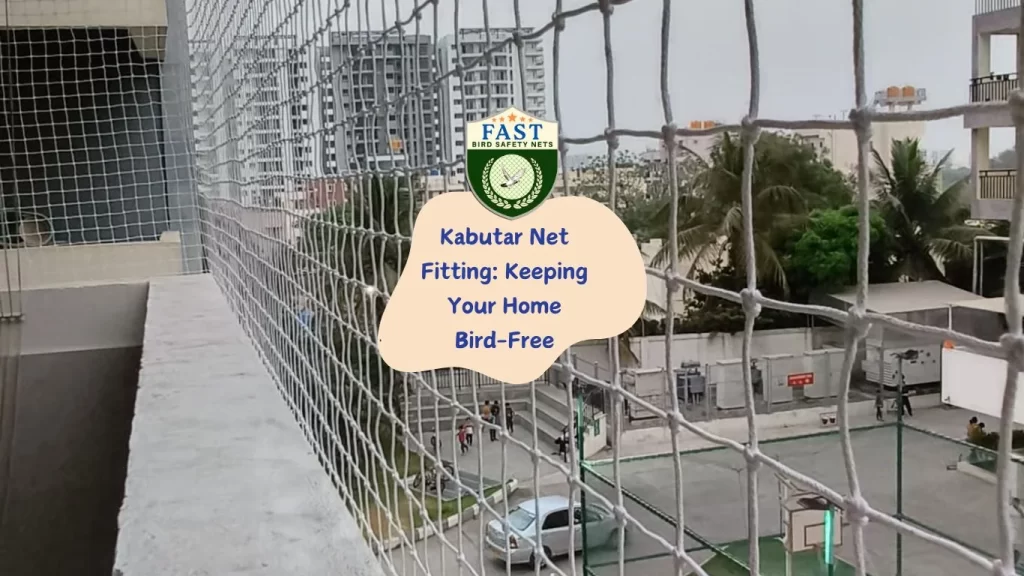

Birds can be a nuisance when they invade your balcony, leaving droppings and creating a mess. Installing bird nets is an effective and humane solution to keep them away. Fast Safety Nets Hyderabad offers professional installation services as Installing Bird Nets on Balconies, but if you prefer a DIY approach, here’s a step-by-step guide to help you install bird nets on your balcony.
Materials You Will Need:
- Bird netting
- Measuring tape
- Scissors
- Hooks or nails
- Drill (if necessary)
- Rope or cable ties
- Ladder
- Safety gloves
Step 1: Measure Your Balcony
- Measure the Area: Use a measuring tape to measure the width, height, and depth of the area you want to cover with the bird net. Make sure to measure twice to ensure accuracy.
- Cut the Netting: Cut the bird netting according to the measurements you took. It’s advisable to cut a little extra to ensure complete coverage and allow for adjustments.
Step 2: Prepare the Installation Points
- Mark the Points: Mark the points where you will attach the hooks or nails. These should be evenly spaced around the perimeter of the area you want to cover.
- Install Hooks or Nails: Depending on the type of surface, use a drill to install hooks or nails at the marked points. Ensure they are secure and can hold the weight of the netting.
Step 3: Attach the Netting
- Start from One Corner: Begin attaching the netting from one corner of your balcony. Secure the net to the first hook or nail using rope or cable ties.
- Stretch the Netting: Stretch the netting across to the next hook or nail. Make sure it is taut but not overly tight, as it needs some flexibility.
- Secure All Sides: Continue attaching the netting around the perimeter of the balcony, securing it to each hook or nail. Check periodically to ensure the netting remains taut.
Step 4: Secure the Bottom
- Attach the Bottom Edge: Once the top and sides are secured, attach the bottom edge of the netting to the balcony railing or floor. Use additional hooks or nails if necessary.
- Check for Gaps: Inspect the entire installation for any gaps or loose areas where birds might enter. Adjust and secure these areas as needed.
Step 5: Finishing Touches
- Trim Excess Netting: Use scissors to trim any excess netting, ensuring a neat appearance.
- Test the Installation: Gently pull on different sections of the net to ensure it is securely attached and will withstand outdoor conditions.
Tips for Effective Installation
- Use Quality Materials: Ensure you use durable and weather-resistant bird netting for long-lasting protection.
- Regular Maintenance: Periodically check the netting for any wear and tear or areas that need reinforcement.
- Safety First: Always wear safety gloves and take precautions when using ladders and tools.
Why Choose Fast Safety Nets Hyderabad?
Fast Safety Nets Hyderabad offers high-quality bird netting solutions and professional installation services. Our experienced team ensures a hassle-free and effective installation, providing you with peace of mind and a bird-free balcony.
For more information or to schedule a professional installation, contact Fast Safety Nets Hyderabad today!