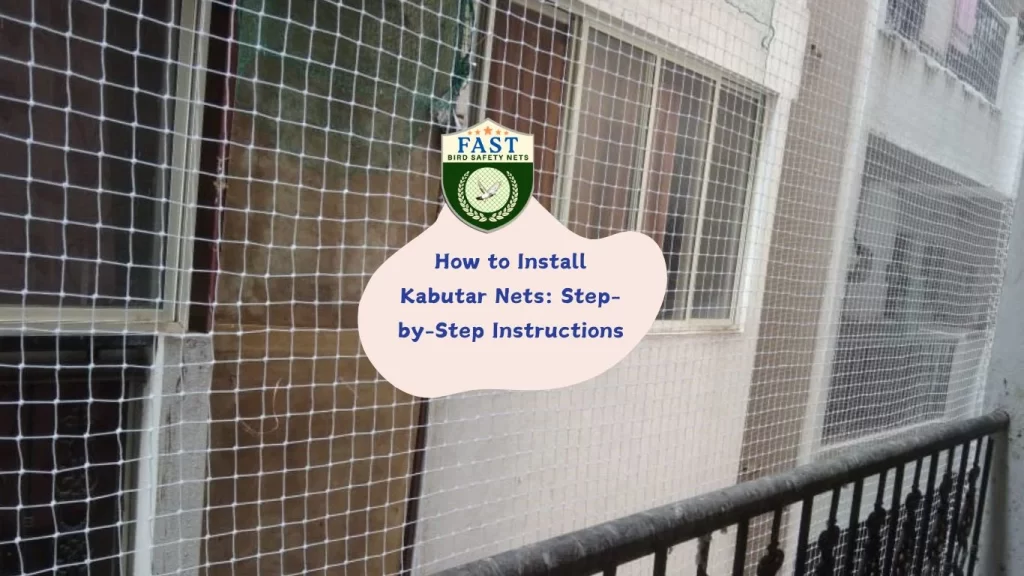

Kabutar nets, or pigeon nets, are an effective solution to keep pigeons away from your property, ensuring a clean and safe environment. Installing these nets can be a DIY project if you have the right tools and follow the correct procedure. In this guide, we’ll walk you through the step-by-step process of installing pigeon nets with the help of Fast Safety Nets Hyderabad.

Materials and Tools Needed:
- Kabutar nets (pigeon nets)
- Net installation hardware (clips, screws, anchors)
- Measuring tape
- Scissors or wire cutters
- Drill and drill bits
- Screwdriver
- Ladder
- Safety gear (gloves, goggles)
Step 1: Measure the Area
- Determine the Coverage Area: Use a measuring tape to measure the dimensions of the area where you want to install the net (e.g., balcony, ledge).
- Add Extra Allowance: Add a few extra inches to your measurements to ensure the net can be securely fastened around the edges.
Step 2: Prepare the Installation Site
- Clean the Surface: Make sure the installation area is clean and free of debris. This ensures that the net adheres properly and the hardware stays secure.
- Mark the Drill Points: Use a pencil to mark the points where you will install the anchors or screws. These should be evenly spaced around the perimeter of the area.
Step 3: Install the Net Hardware
- Drill Holes: Using a drill, make holes at the marked points. Choose the drill bit size based on the anchors or screws you’re using.
- Insert Anchors: Place anchors into the drilled holes if required. These will help secure the screws or clips.
- Attach Clips or Screws: Fasten the clips or screws into the anchors, making sure they are firmly secured. These will hold the net in place.
Step 4: Install the Pigeon Net
- Unroll the Net: Carefully unroll the pigeon net and place it over the area you measured.
- Secure the Net: Attach the net to the clips or screws around the perimeter. Make sure the net is taut and evenly distributed.
- Trim Excess Netting: If there is any excess netting, trim it with scissors or wire cutters to fit the area neatly.
Step 5: Final Adjustments
- Check for Gaps: Inspect the installation to ensure there are no gaps where pigeons might enter. Adjust the net if necessary.
- Test Stability: Gently tug on the net to ensure it is securely fastened and won’t come loose.
Step 6: Clean Up
- Remove Debris: Clean up any debris from the installation process, including leftover netting and packaging.
- Dispose of Waste Properly: Dispose of any waste materials in accordance with local regulations.
Conclusion
Installing kabutar nets is a straightforward process that can significantly improve the cleanliness and safety of your property. By following these steps and ensuring a secure installation, you can effectively prevent pigeons from nesting or roosting in unwanted areas. For professional assistance or high-quality netting solutions, contact Fast Safety Nets Hyderabad.


