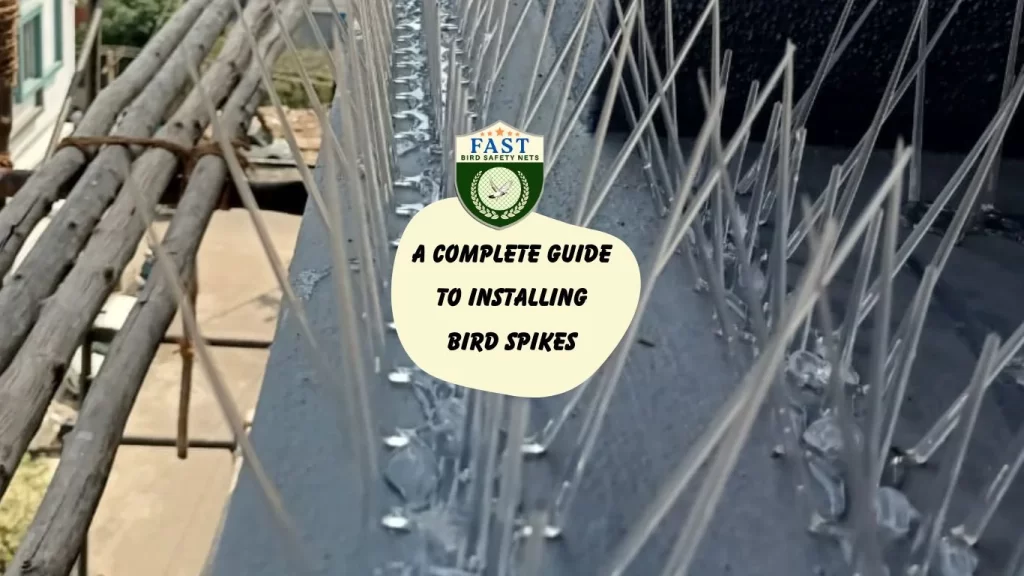

Bird spikes are an effective solution for keeping birds away from specific areas, preventing them from perching or nesting. This guide will walk you through the process of installing bird spikes with the expertise of Fast Safety Nets Hyderabad.
Materials Needed
- Bird spikes (available from Fast Safety Nets Hyderabad)
- Measuring tape
- Marking pen or chalk
- Ladder
- Drill and drill bits
- Screws and wall plugs
- Adhesive (optional)
- Safety gloves
- Screwdriver
Step 1: Choose the Right Bird Spikes
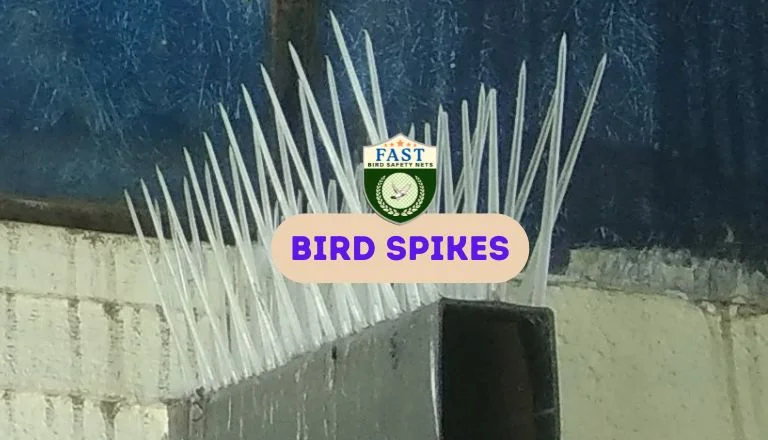
- Select the Spikes: Choose bird spikes that are suitable for the type of surface you are installing them on. Fast Safety Nets Hyderabad offers a variety of options.
- Measure the Area: Measure the length of the surface where you plan to install the spikes to determine how many spikes you will need.
Step 2: Prepare the Surface
- Clean the Surface: Ensure the surface where the spikes will be installed is clean and dry. Remove any dirt, dust, or old bird nests.
- Mark Installation Points: Use a marking pen or chalk to mark the points where the spikes will be placed. Ensure they are spaced evenly for effective coverage.
Step 3: Drill Holes or Apply Adhesive
- Drill Holes: If using screws, drill holes at the marked points. The size of the drill bit should match the size of the wall plugs.
- Apply Adhesive (Optional): For some surfaces, you can use a strong adhesive to attach the spikes instead of drilling. Follow the manufacturer’s instructions for application.
Step 4: Install Wall Plugs (If Needed)
- Insert Wall Plugs: Place wall plugs into the drilled holes to ensure a secure fit for the screws.
Step 5: Attach the Bird Spikes
- Secure with Screws: Align the bird spikes with the marked points or drilled holes. Use screws to attach the spikes to the surface, ensuring they are firmly fixed.
- Adhesive Application: If using adhesive, apply it to the base of the bird spikes and press them firmly onto the surface. Allow the adhesive to cure according to the manufacturer’s instructions.
Step 6: Check for Coverage
- Inspect the Installation: Ensure that the bird spikes cover the entire area where you want to deter birds. There should be no gaps where birds could potentially land.
- Adjust if Necessary: Make any necessary adjustments to ensure complete coverage.
Step 7: Clean Up
- Remove Debris: Clean up any debris from drilling or adhesive application.
- Check Stability: Ensure all spikes are securely attached and stable.
Step 8: Regular Maintenance
- Inspect Periodically: Regularly check the bird spikes to ensure they remain securely attached and effective.
- Clean if Needed: Clean the spikes to remove any accumulated dirt or debris that could reduce their effectiveness.
Conclusion
Installing bird spikes with Fast Safety Nets Hyderabad is a straightforward process that offers a practical solution for bird control. By following these steps, you can effectively deter birds from perching or nesting in unwanted areas. For professional assistance and high-quality bird spikes, contact Fast Safety Nets Hyderabad today and enjoy a bird-free environment.


