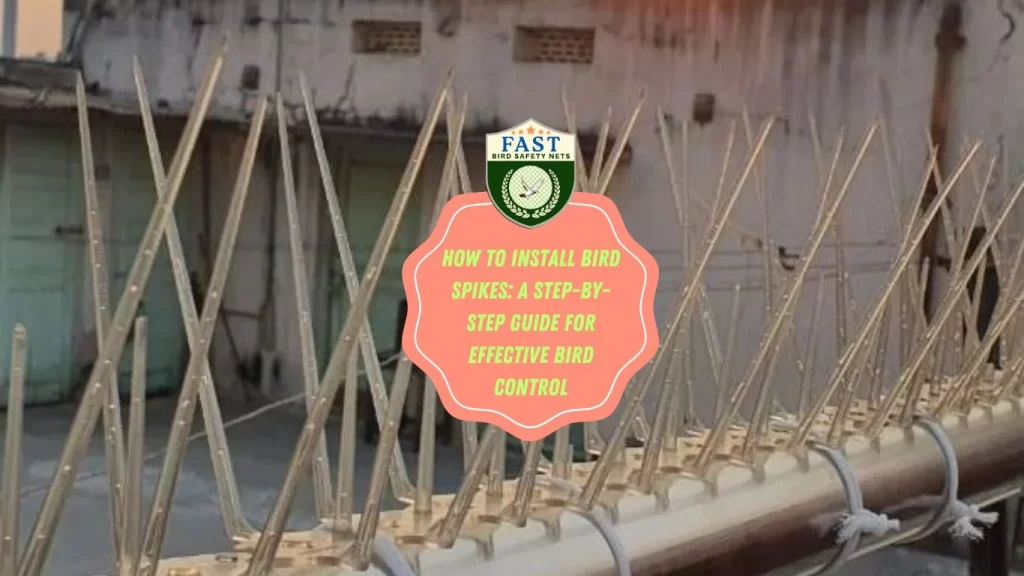

How to Install Bird Spikes: A Step-by-Step Guide for Effective Bird Control. Bird spikes are an effective and humane solution to prevent birds from roosting and nesting on ledges, rooftops, and other surfaces. Here’s a step-by-step guide to installing bird spikes with Fast Safety Nets Hyderabad:
Why Use Bird Spikes?
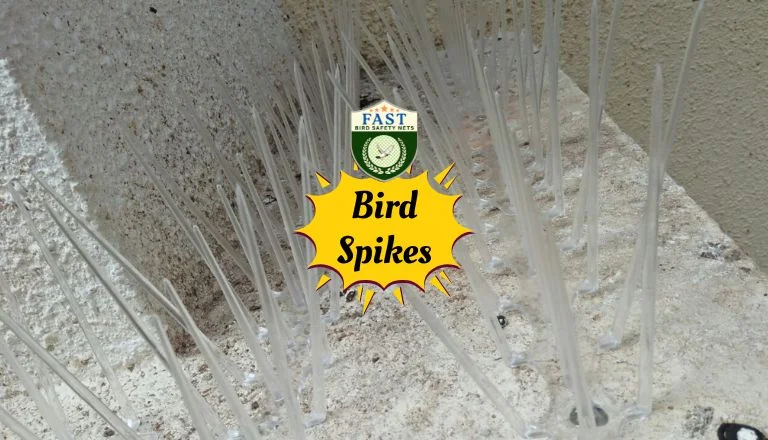
- Prevent Roosting and Nesting
- Bird spikes create an uncomfortable surface for birds, deterring them from landing, roosting, or nesting.
- Protect Property
- Spikes help protect your property from damage caused by bird droppings and nesting materials, which can be corrosive and unsightly.
- Maintain Cleanliness
- By preventing birds from settling, you can keep your property cleaner and reduce the need for frequent cleaning.
- Humane Solution
- Bird spikes do not harm birds; they simply make surfaces uninviting for them to land on.
Tools and Materials Needed
- Bird spikes
- Adhesive or screws (depending on the surface)
- Measuring tape
- Cleaning supplies
- Ladder
- Safety gear (gloves, goggles)
Step-by-Step Installation Guide
- Measure the Area
- Measure the length of the area where you plan to install the bird spikes. This will help you determine the number of spikes needed.
- Clean the Surface
- Clean the installation surface thoroughly to ensure the spikes adhere properly. Remove any dirt, debris, or bird droppings.
- Choose the Right Spikes
- Select the appropriate type and size of bird spikes based on the bird species you’re dealing with and the installation surface.
- Plan the Layout
- Lay out the bird spikes along the surface to plan the installation. Ensure the spikes cover the entire width of the area to prevent birds from finding gaps.
- Apply Adhesive or Screws
- If using adhesive, apply it to the base of the bird spikes and press them firmly onto the surface. If using screws, drill holes and secure the spikes in place.
- Install the Spikes
- Starting from one end, install the spikes along the surface, making sure they are evenly spaced and cover the entire length. Ensure there are no gaps where birds can land.
- Secure the Ends
- Pay special attention to securing the ends of the spikes to prevent birds from landing on uncovered edges.
- Inspect the Installation
- Once the spikes are installed, inspect the area to ensure all surfaces are covered and the spikes are securely attached.
- Regular Maintenance
- Periodically check the spikes to ensure they remain in good condition. Clean and repair any damaged sections as needed.
Tips for Effective Bird Spike Installation
- Choose the Right Adhesive: Use a strong, weather-resistant adhesive for surfaces where screws cannot be used.
- Ensure Coverage: Make sure the spikes cover the entire width of the ledge or surface to prevent birds from landing on uncovered areas.
- Safety First: Use a sturdy ladder and wear safety gear to protect yourself during installation.
- Consult Professionals: If you’re unsure about the installation process, consult the experts at Fast Safety Nets Hyderabad for professional assistance.
Why Choose Fast Safety Nets Hyderabad?
- High-Quality Products: Durable, effective bird spikes designed for various surfaces and bird species.
- Professional Installation: Expert installation services to ensure optimal effectiveness and durability.
- Customized Solutions: Tailored solutions to meet your specific bird control needs.
- Affordable Pricing: Competitive rates for top-quality bird spikes and installation services.
Contact Us
For more information on bird spikes and to get started with installation, contact Fast Safety Nets Hyderabad today!