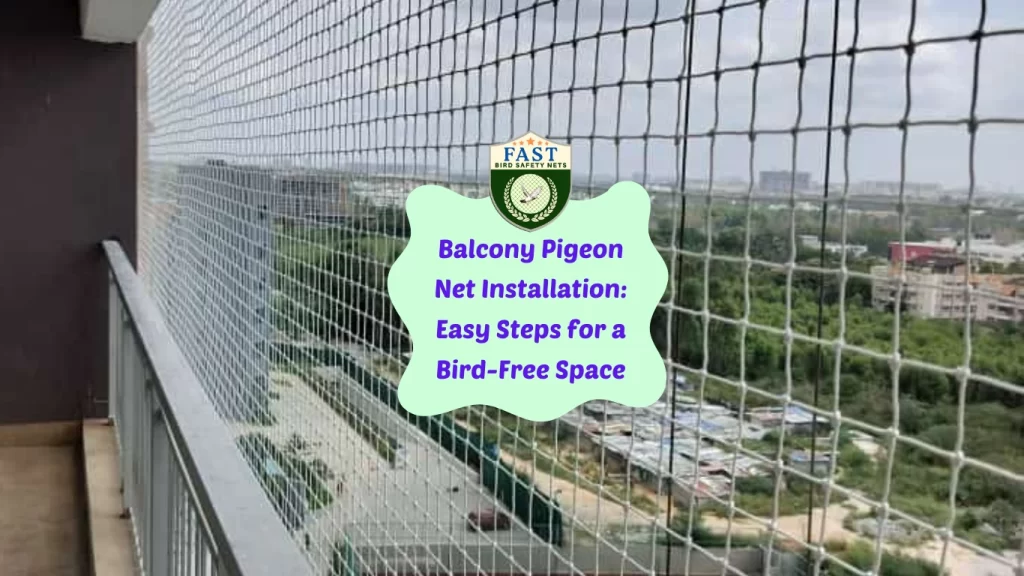

Pigeons may seem harmless, but they can create significant problems when they decide to make your balcony their home. Their droppings can cause damage and health hazards, while their constant presence can be a nuisance. Installing a pigeon net is an effective way to keep these birds at bay. Here’s a step-by-step guide to help you for Balcony Pigeon Net Installation easily and efficiently.
1. Gather Necessary Tools and Materials
Before starting the installation, ensure you have all the required tools and materials:
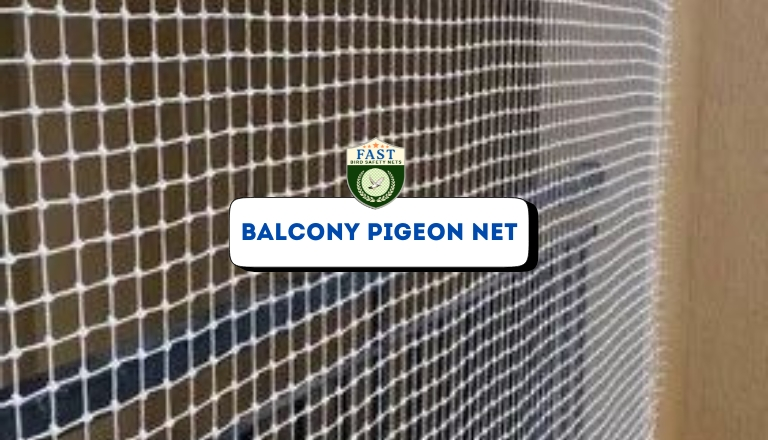
- Pigeon netting (preferably UV stabilized for durability)
- Measuring tape
- Scissors or a utility knife
- Heavy-duty zip ties or nylon ropes
- Hooks or screws with wall plugs
- A drill with appropriate drill bits
- A ladder or step stool
2. Measure Your Balcony
Accurate measurements are crucial for a snug fit of the pigeon net. Measure the height, width, and depth of the area you wish to cover. Make sure to account for any irregularities or protrusions that might require adjustments in the netting.
3. Cut the Net to Size
Once you have your measurements, lay out the pigeon net on a flat surface and cut it to the required dimensions. It’s a good idea to add a few extra inches on all sides to ensure a secure fit and accommodate any installation adjustments.
4. Install Hooks or Screws
Decide on the points where you will attach the net. These are typically the corners and midpoints of the balcony railing or walls. Use a drill to make holes for the hooks or screws, and insert the wall plugs if necessary. Then, securely install the hooks or screws, ensuring they are firmly fixed and can support the weight of the net.
5. Attach the Net to the Hooks
Start by attaching one corner of the net to a hook or screw using a zip tie or nylon rope. Proceed to secure the net at all other points, ensuring it is taut and free of sagging. Work methodically from one corner to the next, checking the tension regularly to ensure a snug fit.
6. Secure the Edges
Once the net is attached to all hooks, go around the perimeter and secure any loose edges. Use additional zip ties or rope to tighten the net, making sure there are no gaps where pigeons can sneak through. Trim any excess netting for a clean finish.
7. Check for Stability and Adjust
After the net is fully installed, gently tug on it to ensure it is securely fastened and stable. Make any necessary adjustments to the tension or attachment points. A well-installed net should be firm, with no significant movement when pressed.
8. Regular Maintenance
To maintain the effectiveness of the pigeon net, perform regular checks for any damage or loosening. Pigeons and other elements can sometimes cause wear and tear, so addressing any issues promptly will ensure your balcony remains bird-free.
Conclusion
Balcony Pigeon Net Installation is a straightforward and effective solution to keep unwanted birds away. By following these easy steps, you can enjoy a clean, pigeon-free outdoor space. Regular maintenance will help prolong the life of your net, ensuring that your balcony remains a pleasant and safe environment.


