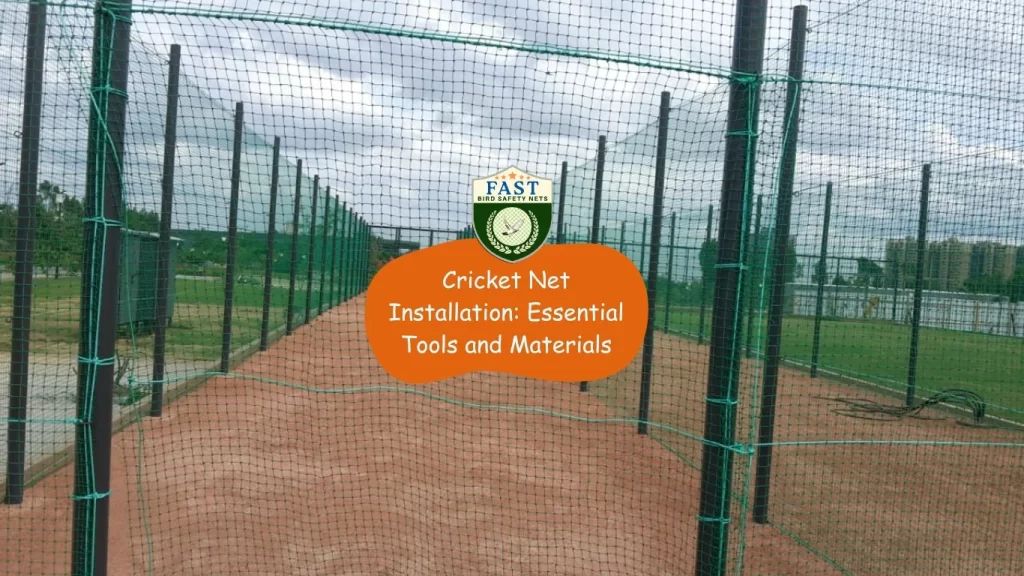

Installing a cricket net can be a great addition to your training facility, providing a safe and controlled environment for practice. Here’s a guide to the essential tools and materials you’ll need for a successful installation, with the expertise of Fast Safety Nets Hyderabad.
1. Tools Needed:
- Measuring Tape: For accurately measuring the dimensions of the area where the net will be installed.
- Marker or Chalk: To mark the positions where posts and anchors will be placed.
- Ladder: Necessary for reaching high areas during installation.
- Power Drill: To create holes for anchors and posts.
- Wrenches and Pliers: For tightening bolts and securing fittings.
- Hammer: For driving in stakes or anchors.
- Level: To ensure posts are vertically aligned.
- Scissors or Utility Knife: To cut netting and ropes to the required lengths.
- Gloves and Safety Glasses: For personal protection during installation.
2. Materials Needed:
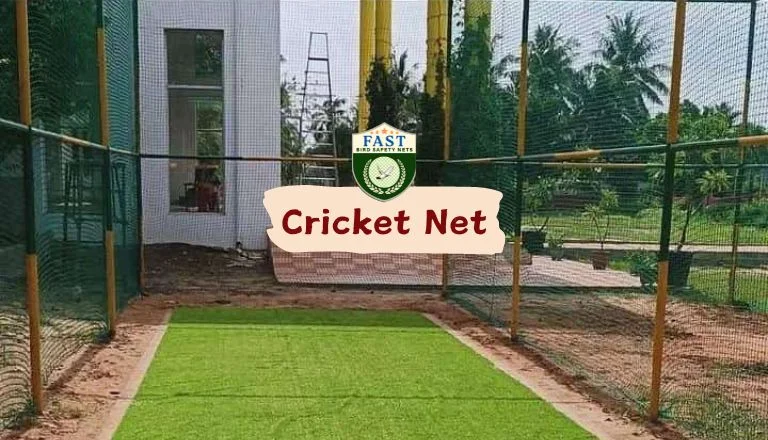
- Cricket Netting: High-quality, durable netting suitable for cricket. The netting should be UV-resistant and strong enough to withstand regular impact from cricket balls.
- Support Posts: Sturdy posts, usually made of metal or treated wood, to hold the netting in place. These should be durable and capable of withstanding weather conditions.
- Ground Anchors or Stakes: To securely fasten the base of the posts to the ground, ensuring stability.
- Guy Wires and Tensioners: To provide additional support and tension to the netting, keeping it taut and secure.
- Ropes and Cables: For attaching the netting to the posts and ensuring it remains in place.
- Zip Ties or Cable Ties: To secure the netting to the support structure.
- Protective Padding (Optional): For posts and other hard surfaces to prevent injury during practice.
Cricket Net Installation Steps:
- Measure and Mark: Start by measuring the area and marking the positions for the posts and anchors.
- Install Posts: Use a power drill to create holes for the posts. Secure the posts in place with ground anchors or stakes, ensuring they are level.
- Attach Netting: Begin attaching the netting to the posts using ropes, cables, and zip ties. Ensure the netting is taut and securely fastened.
- Add Support: Use guy wires and tensioners to provide additional support, keeping the netting tight and preventing sagging.
- Final Adjustments: Make any necessary adjustments to ensure the netting is properly aligned and secured.
Conclusion: With the right tools and materials, installing a cricket net can be a straightforward and rewarding project. Fast Safety Nets Hyderabad provides high-quality netting solutions and expert advice to ensure your installation is successful and durable.
For professional cricket net installation services and top-quality materials, contact Fast Safety Nets Hyderabad. Ensure your training facility is safe, efficient, and ready for action!


