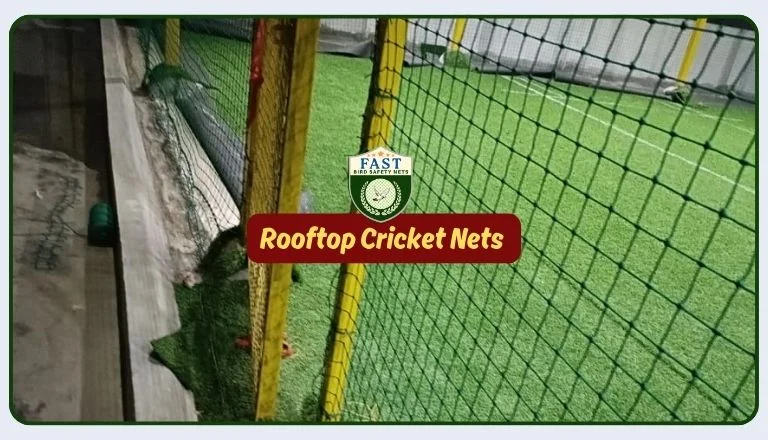
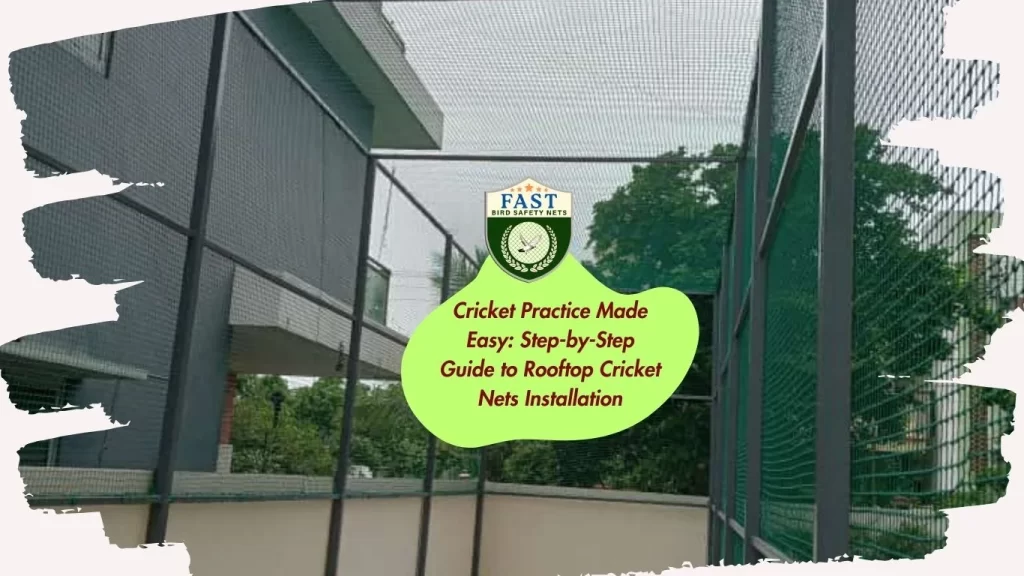
Cricket enthusiasts often face challenges finding suitable practice spaces. However, with rooftop cricket nets, you can turn unused spaces into convenient training areas. Here’s a comprehensive step-by-step guide to rooftop cricket nets Installation:

- Assessment and Planning: Begin by assessing your rooftop space to determine the suitable area for installing the cricket nets. Consider factors such as space availability, accessibility, and safety precautions. Plan the layout and dimensions of the cricket nets accordingly.
- Material Selection: Choose high-quality cricket netting material that is durable, weather-resistant, and designed specifically for outdoor use. Additionally, select sturdy poles or frames to support the netting structure on the rooftop.
- Measurement and Marking: Measure the dimensions of the rooftop area where the cricket nets will be installed. Mark the locations for the support poles or frames, ensuring they are evenly spaced and aligned to provide optimal coverage for cricket practice.
- Preparation of Support Structures: Install support structures such as poles, frames, or anchor points on the rooftop surface. Ensure that these structures are securely anchored and capable of withstanding wind and weather conditions.
- Attachment of Netting: Carefully attach the cricket netting to the support structures, ensuring it is stretched taut and securely fastened. Start by fixing the netting to one corner and gradually work your way across the rooftop, attaching it to each support point.
- Securing Edges and Corners: Pay special attention to securing the edges and corners of the cricket netting to prevent any gaps or openings. Use additional fasteners or tie-downs as needed to ensure a tight and secure fit.
- Installation of Batting Cage: If desired, install a batting cage within the rooftop cricket nets to provide a designated area for batting practice. Ensure that the batting cage is properly positioned and securely anchored to the support structures.
- Safety Measures: Implement safety measures such as padding or barriers around the perimeter of the rooftop cricket nets to prevent injuries. Additionally, consider installing safety nets or barriers to protect neighboring properties from stray cricket balls.
- Final Inspection and Testing: Once the rooftop cricket nets are installed, conduct a thorough inspection to ensure that all components are securely in place and functioning properly. Test the netting by practicing cricket shots to ensure its effectiveness.
- Maintenance and Care: Regularly inspect the rooftop cricket nets for signs of wear or damage, and make repairs or replacements as needed. Additionally, clean the netting periodically to remove dirt, debris, and bird droppings.
By following this step-by-step guide, you can successfully install rooftop cricket nets and create a convenient and safe practice space for cricket enthusiasts. Enjoy practicing your cricket skills on the rooftop while taking advantage of the beautiful outdoor setting.


