

Transform your outdoor space into a cricket practice arena with the installation of cricket nets. In this blog post, we’ll share essential tips for outdoor net installation to enhance your practice sessions and elevate your game.
- Choose the Right Location: Select a flat and spacious area for installing the cricket net, preferably away from obstacles and breakable objects. Ensure there’s enough clearance for batting and bowling practice.
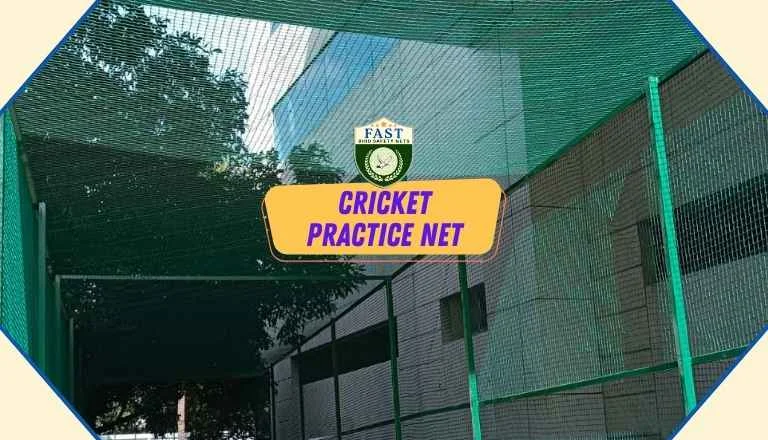
- Quality Netting Material: Invest in durable and weather-resistant netting material that can withstand outdoor elements. Opt for UV-stabilized mesh with a suitable mesh size to contain cricket balls effectively.
- Secure Installation: Properly anchor the cricket netting to sturdy support structures such as poles or walls. Use strong fixtures like hooks, cables, or clips to ensure the net remains taut and secure during practice sessions.
- Height Considerations: Install the cricket netting at an appropriate height to contain high shots and prevent balls from going over the boundary. Consider the trajectory of cricket shots and adjust the netting height accordingly.
- Regular Maintenance: Periodically inspect the cricket netting for any signs of wear, tear, or damage. Repair or replace damaged sections promptly to maintain the effectiveness of the netting and ensure player safety.
Conclusion: By following these tips for outdoor net installation, you can create an ideal environment for cricket practice sessions. Maximize your training opportunities and hone your cricket skills with a properly installed cricket net in your outdoor space.


