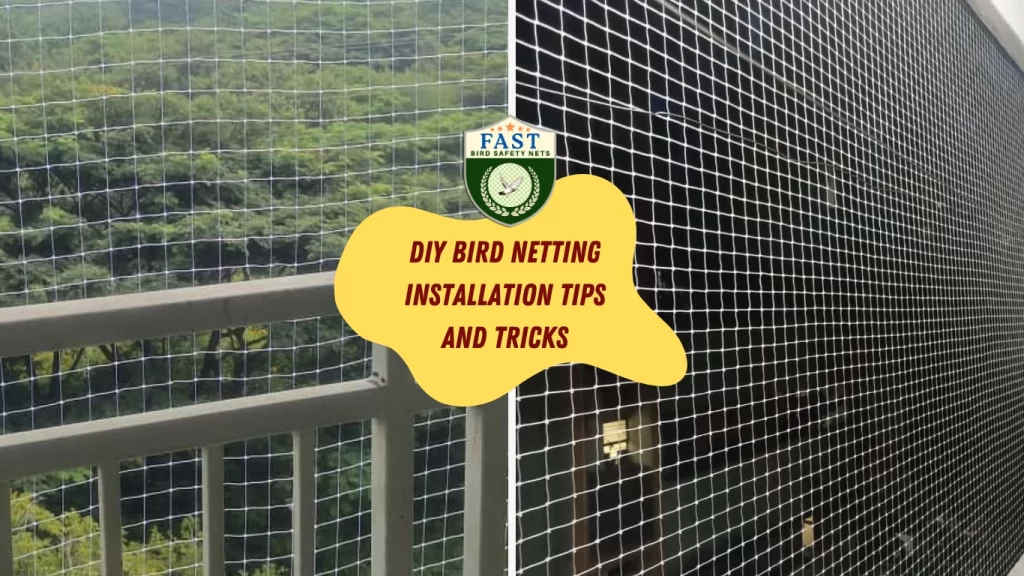

Bird netting is an effective solution for keeping birds away from your crops, garden, or property. Installing bird netting yourself can save you money and give you the satisfaction of completing a DIY project. However, proper installation is crucial for the netting to be effective. In this guide, we’ll provide you with comprehensive tips and tricks for DIY bird netting installation to help you achieve optimal results and protect your space from avian pests.
Understanding Bird Netting:
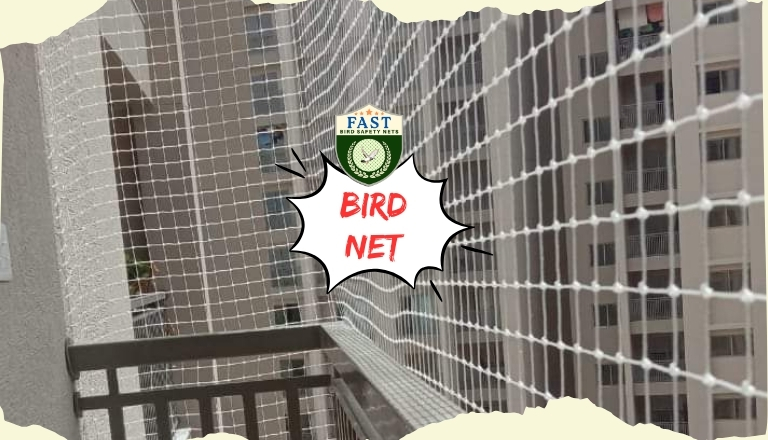
Bird netting is a physical barrier made of lightweight, durable materials such as nylon or polyethylene. It is designed to prevent birds from accessing areas where they may cause damage or disturbance, such as gardens, fruit trees, or outdoor structures. For a variety of uses and bird species, bird netting is available in a range of sizes and mesh patterns.
Benefits of DIY Bird Netting Installation:
There are several benefits to installing bird netting yourself:
Cost Savings: DIY installation eliminates labor costs associated with hiring professionals, making bird netting a more budget-friendly option.
Customization: You have control over the size, shape, and placement of the netting to suit your specific needs and preferences.
Immediate Action: DIY installation allows you to promptly address bird-related issues without waiting for professional assistance.
Personal Satisfaction: Successfully completing a DIY project can be rewarding and empowering, giving you a sense of accomplishment.
DIY Bird Netting Installation Tips and Tricks:
Assess Your Needs:
Identify the areas you want to protect and determine the size and shape of the bird netting required.
Consider the type of birds you’re dealing with and choose netting with an appropriate mesh size to prevent them from accessing the area.
Select High-Quality Netting:
Invest in durable bird netting made of UV-resistant materials to withstand outdoor conditions and ensure long-term effectiveness.
Choose netting with small mesh openings to prevent birds from getting entangled or accessing the protected area.
Gather Necessary Tools and Supplies:
Before starting the installation, gather all the tools and supplies you’ll need, including netting, zip ties, stakes, scissors, and a ladder.
Ensure you have sufficient netting to cover the desired area, allowing for some overlap for secure attachment.
Plan the Installation:
Sketch out a rough plan of how you’ll install the netting, including the layout, anchoring points, and support structures.
Start with the corners and work your way along the perimeter, ensuring the netting is taut and securely fastened at each point.
Secure the Netting:
Use zip ties or sturdy twine to attach the netting to supporting structures such as fences, posts, or stakes.
Ensure the netting is pulled tight and free of wrinkles or sagging to prevent birds from finding entry points.
Overlap and Seal Edges:
Overlap multiple pieces of netting by at least a foot to ensure complete coverage and eliminate gaps where birds could enter.
Seal overlapping edges with zip ties or heavy-duty clips to create a seamless barrier and prevent birds from slipping through.
Install Support Structures:
Use stakes or poles to create a framework for supporting the netting, especially for larger areas or vertical installations.
Anchor the netting securely to the ground or surrounding structures to prevent it from being dislodged by wind or wildlife.
Conclusion:
DIY bird netting installation is a cost-effective and practical solution for protecting your garden, or property from avian pests. By following these tips and tricks, you can ensure successful installation and enjoy the benefits of a bird-free environment. With careful planning, proper materials, and attention to detail, you can effectively deter birds and safeguard your space from damage and disturbance.


