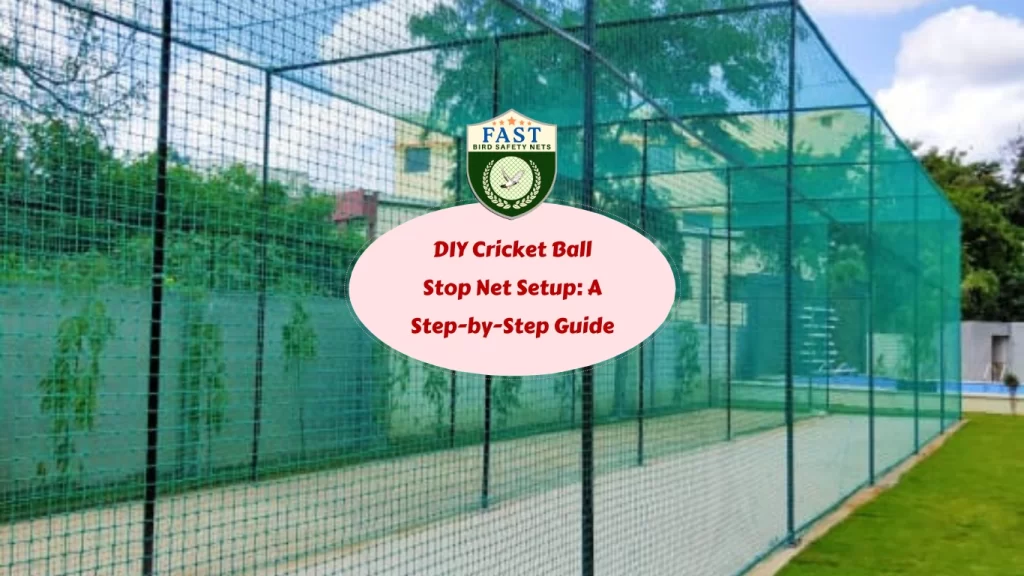

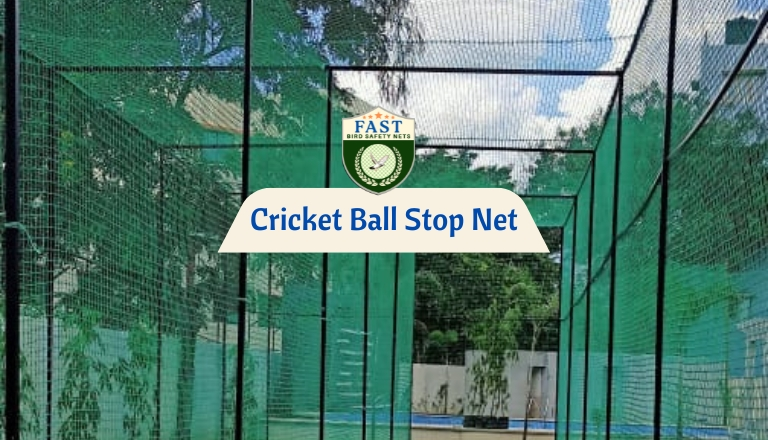
Playing cricket at home is a great way to practice and have fun, but it’s essential to ensure that the ball doesn’t cause damage or pose a safety risk. Installing a cricket ball stop net is an effective solution to keep the ball contained within your play area. Here’s a comprehensive step-by-step guide to setting up your own cricket ball stop net.
Materials Needed
- Cricket ball stop net
- Measuring tape
- Poles (metal or PVC)
- Ground stakes or pole mounts
- Ropes or bungee cords
- Zip ties or clips
- Hammer or mallet
- Drill (if mounting poles to a wall or hard surface)
Step 1: Measure Your Play Area
First, measure the area where you plan to set up the net. Determine the width, height, and depth required to effectively stop the cricket balls. This will help you purchase the correct size net and the appropriate number of poles.
Step 2: Purchase the Net and Poles
Based on your measurements, purchase a cricket ball stop net that is large enough to cover your play area. Choose sturdy poles that can support the net and withstand impacts from cricket balls. Metal or PVC poles are ideal for their strength and durability.
Step 3: Plan the Layout
Decide on the layout of your net. Typically, a rectangular setup works well. Mark the positions where the poles will be placed. Ensure the poles are spaced evenly to provide adequate support for the net.
Step 4: Install the Poles
Ground Installation
- Dig Holes: Use a post hole digger or a shovel to dig holes for the poles. The holes should be deep enough to provide stability, typically around 2 feet deep.
- Insert Poles: Place the poles into the holes and fill them with soil or concrete to secure them. Use a level to ensure the poles are straight.
- Hammer Stakes: If using ground stakes, hammer them into the ground and attach the poles securely.
Wall or Hard Surface Installation
- Mounting Brackets: Use mounting brackets to secure the poles to a wall or hard surface. Drill holes into the wall, insert anchors, and screw the brackets in place.
- Attach Poles: Insert the poles into the brackets and secure them with screws or bolts.
Step 5: Attach the Net
- Unroll the Net: Lay the net out flat and untangle any knots.
- Secure the Top: Attach the top of the net to the poles using ropes or bungee cords. Ensure the net is tight and evenly distributed across the top.
- Secure the Sides: Attach the sides of the net to the poles using zip ties or clips. Make sure the net is taut and free from sagging.
- Anchor the Bottom: If necessary, anchor the bottom of the net to the ground using additional stakes or weights to prevent the ball from rolling under the net.
Step 6: Test the Setup
Once the net is securely attached, test the setup by throwing or hitting a few cricket balls into the net. Check for any weak points or areas that need tightening. Adjust the net and poles as needed to ensure maximum effectiveness.
Step 7: Maintain Your Net
Regularly inspect the net and poles for wear and tear. Repair any holes or damaged areas promptly to maintain the net’s effectiveness. Clean the net periodically to remove dirt and debris that may accumulate.
Conclusion
Setting up a cricket ball stop net is a practical and straightforward way to ensure safety and prevent damage while enjoying cricket at home. By following this step-by-step guide, you can create a secure play area that keeps the cricket balls contained and allows you to practice with peace of mind. Invest in quality materials, take your time with the installation, and enjoy a safe and fun cricket experience in your own backyard.


