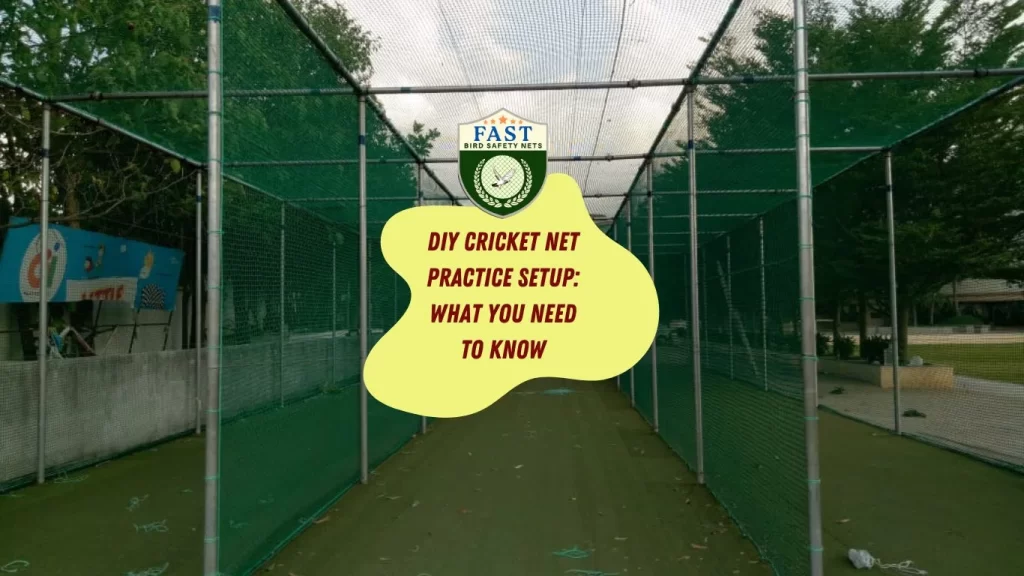

DIY Cricket Net Practice Setup: What You Need to Know. Setting up a cricket net at home is a great way to practice and improve your skills. Here’s a comprehensive guide to creating your own DIY Cricket Net Practice Setup area with Fast Safety Nets Hyderabad:
Why Set Up a Cricket Net?
- Convenience
- Practice anytime at home without needing to travel to a cricket ground or facility.
- Cost-Effective
- Save on costs associated with renting practice facilities or enrolling in cricket academies.
- Focused Training
- Create a dedicated space for specific drills and practice sessions, enhancing your training routine.
- Family Fun
- Enjoy cricket practice with family and friends in a safe, controlled environment.
What You’ll Need
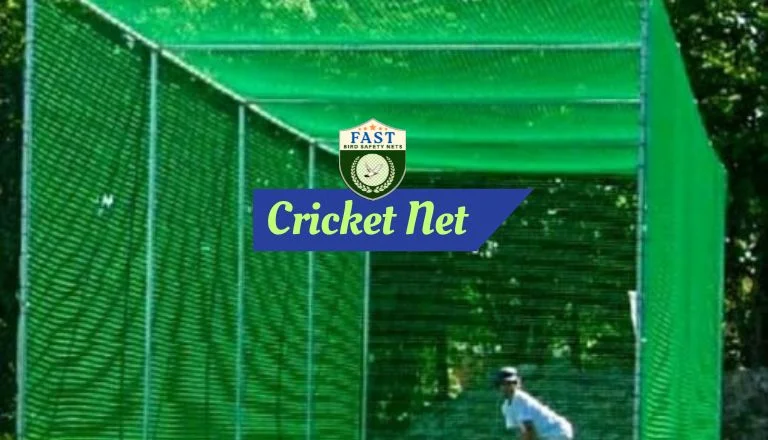
- Cricket Net
- Choose a high-quality cricket net that suits your practice needs. Fast Safety Nets Hyderabad offers durable and professional-grade nets.
- Frames and Poles
- Set up a strong frame to support the net. You can use metal or wooden poles, ensuring they are sturdy and securely anchored.
- Ground Surface
- Ensure you have a flat and even surface for playing. If using a lawn, consider adding a practice mat to simulate a proper pitch.
- Backdrops
- Install a backdrop net to catch balls and prevent damage to surrounding areas. This also helps in maintaining focus during practice.
- Lighting
- If you plan to practice in the evenings, ensure adequate lighting to see the ball clearly.
- Safety Gear
- Wear appropriate cricket gear, including helmets, gloves, and pads, to ensure safety during practice.
Step-by-Step Setup Guide
- Choose the Location
- Select a suitable area in your backyard or indoor space. Ensure there is enough space for the net and that it is away from obstacles.
- Assemble the Frame
- Set up the frame and poles to create a stable structure for the net. Ensure it is level and securely anchored.
- Install the Net
- Attach the cricket net to the frame. Ensure it is taut and properly aligned to prevent sagging.
- Add Backdrop
- Install the backdrop net behind the cricket net to catch stray balls and protect the area.
- Prepare the Ground
- Level the ground and lay down a practice mat if necessary. Ensure the surface is safe and suitable for cricket practice.
- Set Up Lighting (if needed)
- Install lighting if you plan to practice in low light conditions. Ensure the lights are positioned to avoid glare.
- Test the Setup
- Test the net setup to ensure it is secure and functional. Make any necessary adjustments to improve stability and performance.
Tips for a Successful DIY Setup
- Choose Quality Materials: Invest in high-quality nets and frames to ensure durability and safety.
- Secure Installation: Make sure the net and frame are securely installed to withstand regular use.
- Regular Maintenance: Inspect and maintain the setup regularly to ensure it remains in good condition.
- Consult Experts: For professional advice or installation, consult Fast Safety Nets Hyderabad.
Why Choose Fast Safety Nets Hyderabad?
- Quality Products: Durable, high-quality cricket nets and accessories.
- Expert Advice: Professional guidance for setting up and maintaining your cricket net.
- Affordable Solutions: Competitive pricing for top-notch cricket practice equipment.
Contact Us
For more information on cricket nets and to get started with your DIY setup, contact Fast Safety Nets Hyderabad today!