Installing pigeon netting yourself can be a cost-effective way to protect your property from pigeons. With the right tools, materials, and approach, you can achieve a professional result. Here’s a comprehensive guide to help you with a successful DIY pigeon netting installation, brought to you by Fast Safety Nets Hyderabad.
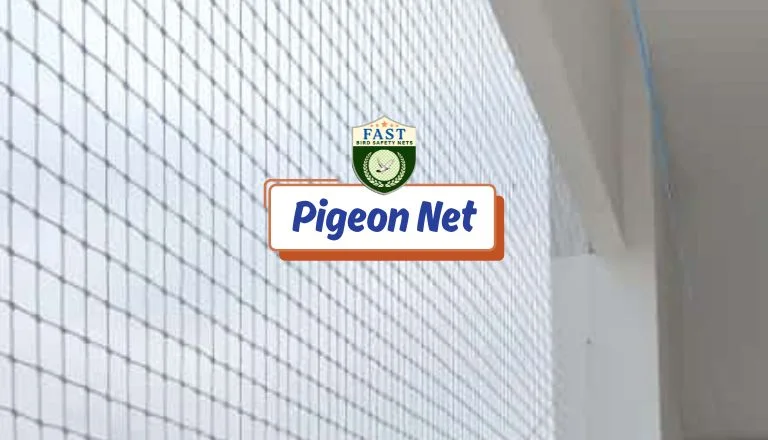
1. Gather Your Materials
- Pigeon Netting: Choose high-quality netting material, such as UV-resistant nylon or polyethylene, which is durable and weather-resistant.
- Mounting Hardware: Collect all necessary hardware including anchors, screws, or adhesive, depending on your installation method.
- Tools: You’ll need tools like a drill, screwdriver, measuring tape, scissors, and a ladder.
2. Plan and Measure
- Assess the Area: Determine where you need to install the netting—balconies, windows, or other entry points.
- Measure the Space: Accurately measure the dimensions of the area you plan to cover. Ensure you include any gaps or corners that need to be covered.
3. Select the Right Netting Size
- Mesh Size: Choose a mesh size that is small enough to prevent pigeons from passing through. Typically, a 1-inch or smaller mesh is recommended.
- Netting Dimensions: Cut the netting slightly larger than your measured area to ensure complete coverage.
4. Prepare the Installation Area
- Clean the Surface: Ensure that the surface where you’ll attach the netting is clean and dry. Remove any debris or old fixtures.
- Mark Attachment Points: Use a pencil or chalk to mark where you will install the mounting hardware.
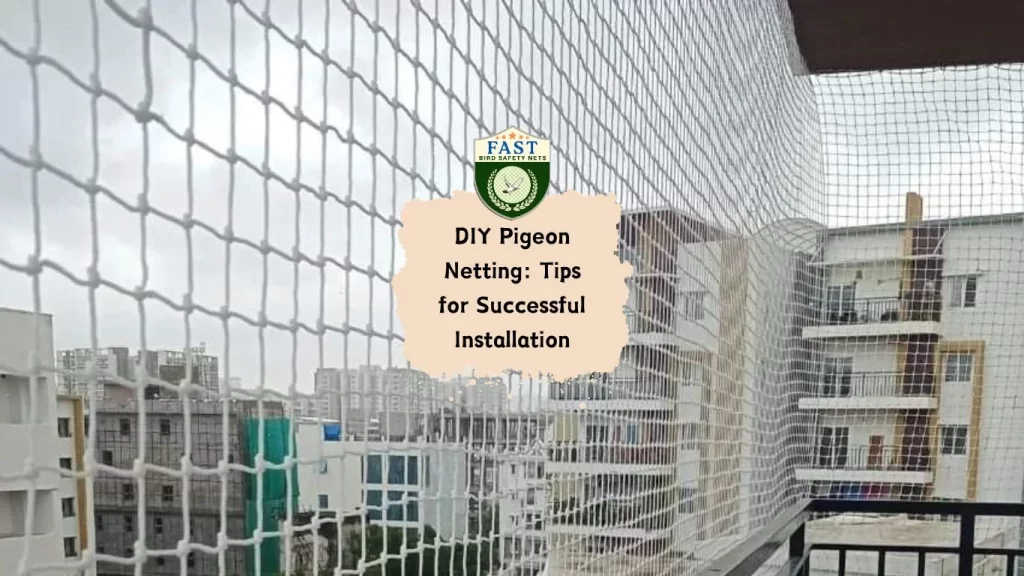
5. Install the Netting
- Attach Netting:
- For Wall Mounts: Install the mounting hardware along the marked lines. Secure the netting to these points using anchors, screws, or adhesive, making sure it is taut.
- For Ceiling Mounts: If attaching to a ceiling or overhead structure, use appropriate anchors and ensure the netting is properly secured and does not sag.
- Secure the Edges: Ensure that all edges are securely fastened to prevent pigeons from getting through. Overlap any sections if necessary for complete coverage.
6. Check for Gaps and Adjust
- Inspect the Installation: Carefully inspect the entire netting area for any gaps or loose sections.
- Adjust as Needed: Make any necessary adjustments to ensure the netting is tight and properly secured. Use additional clips or fasteners if required.
7. Maintenance and Upkeep
- Regular Checks: Periodically check the netting to ensure it remains intact and free from damage.
- Clean the Netting: Keep the netting clean and free from debris to maintain its effectiveness and appearance.
8. Safety Tips
- Use a Stable Ladder: Ensure your ladder is stable and secure while working at heights.
- Wear Protective Gear: Use gloves and safety glasses to protect yourself from any debris or sharp edges.
9. Consider Professional Help
- Expert Installation: If you’re unsure about any part of the installation or need a more complex setup, consider hiring professionals like Fast Safety Nets Hyderabad for a precise and secure installation.
- Custom Solutions: Professionals can provide tailored solutions to fit your specific needs and ensure optimal results.
Why Choose Fast Safety Nets Hyderabad?
Fast Safety Nets Hyderabad offers expertise and high-quality products for pigeon netting solutions. Here’s why you should consider our services:
- High-Quality Materials: We use durable, UV-resistant netting materials for long-lasting protection.
- Professional Installation: Our team provides expert installation for a perfect fit and optimal effectiveness.
- Tailored Solutions: We offer customized solutions to meet your specific requirements.
- Excellent Customer Support: We are committed to delivering exceptional customer service and support.
Conclusion
DIY pigeon netting installation can be a rewarding project that helps protect your property from pigeons. By following these tips from Fast Safety Nets Hyderabad, you can achieve a successful and effective installation. If you prefer professional assistance, our team is ready to help with expert solutions and installation services.

