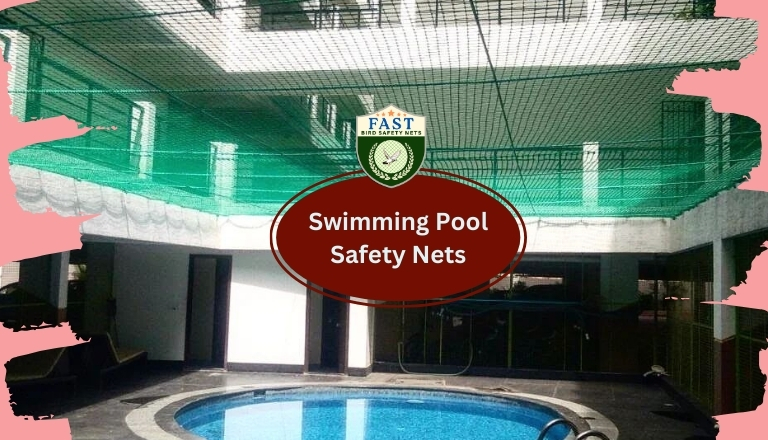
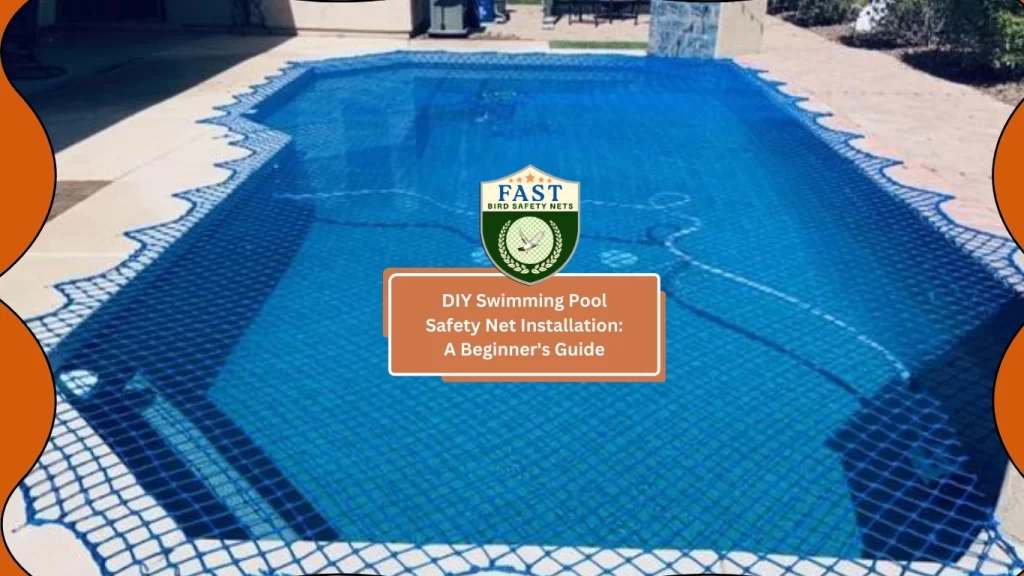
Swimming pools are a source of fun and relaxation, but they can also pose safety risks, especially for children and pets. Installing a safety net over your swimming pool is an effective way to prevent accidents and ensure peace of mind. In this beginner’s guide, we’ll walk you through the step-by-step process of DIY swimming pool safety net installation.
1. Assess Your Pool Area
Before purchasing a safety net, assess your pool area to determine the size and shape of the net you’ll need. Measure the length and width of your pool, as well as any surrounding features like decks or landscaping that may affect the installation.
2. Choose the Right Safety Net
Select a safety net that is specifically designed for swimming pools and meets safety standards. Consider factors such as net material, mesh size, and weight capacity when choosing a net that is suitable for your pool size and usage.
3. Gather Your Tools and Materials
Assemble all the equipment and supplies required for the installation. This may include a drill, measuring tape, mounting hardware, and the safety net itself. Before you start the installation, make sure you have everything you need.
4. Install Mounting Hardware
Start by installing the mounting hardware around the perimeter of your pool. This typically involves drilling holes into the pool deck or surrounding surfaces and attaching anchor points for the net. To guarantee correct installation, carefully follow the manufacturer’s instructions.

5. Attach the Safety Net
Once the mounting hardware is in place, carefully attach the safety net to the anchors using the provided hardware. Make sure the net is stretched taut and securely fastened to prevent any gaps or sagging. Double-check the alignment and tension of the net to ensure maximum effectiveness.
6. Test the Net
After the safety net is installed, perform a thorough inspection and test to ensure that it is securely in place and functioning properly. Try to pull on the net from various angles to check for any weaknesses or areas of concern. Make any necessary adjustments or repairs as needed.
7. Establish Pool Safety Rules
Finally, establish pool safety rules for everyone who uses the pool, especially children and pets. Emphasize the importance of never swimming unsupervised and always keeping the safety net in place when the pool is not in use. Educate family members and guests about pool safety best practices to prevent accidents.
Conclusion
Installing a safety net over your swimming pool is a simple yet effective way to enhance pool safety and prevent accidents. By following this beginner’s guide to DIY swimming pool safety net installation, you can create a safer environment for your family and enjoy peace of mind knowing that your pool is protected. Remember to regularly inspect and maintain the safety net to ensure continued effectiveness and safety for years to come.


