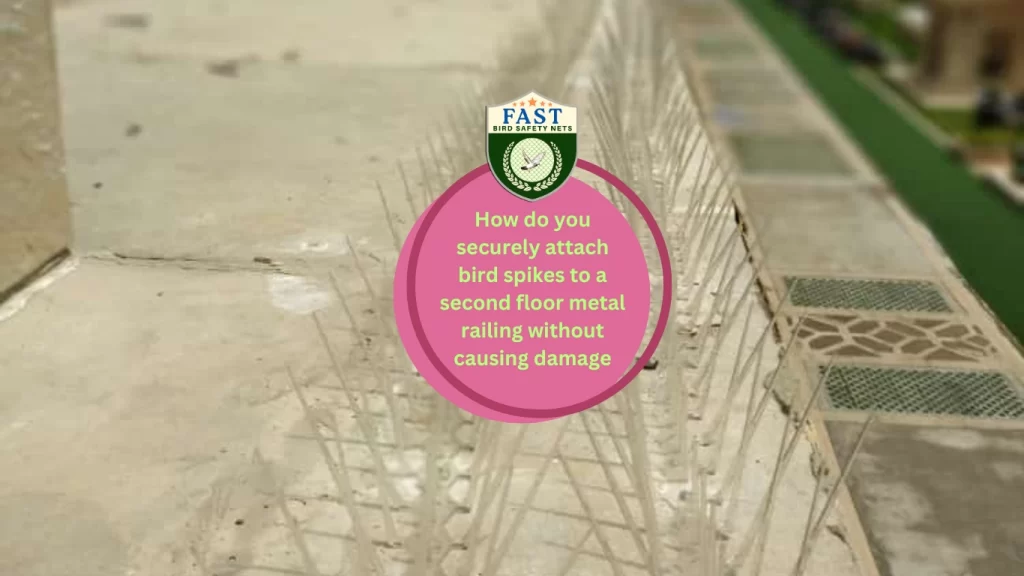

Bird spikes are effective deterrents for preventing birds from roosting and nesting on ledges, railings, and other flat surfaces. When attaching bird spikes on a second-floor metal railing, it’s essential to attach bird spikes securely without causing damage to the railing. Here’s a step-by-step guide to achieve damage-free installation.
Assess the Railing: Before installing bird spikes, assess the metal railing to determine its composition, thickness, and structure. Ensure the railing is sturdy and capable of supporting the weight of the bird spikes without bending or deforming.
Choose Non-damaging Attachment Methods: Select attachment methods that do not require drilling or permanent alterations to the metal railing. Options include adhesive strips, zip ties, or clamps designed for temporary or non-permanent installation.
Clean the Surface: Thoroughly clean the surface of the metal railing where the bird spikes will be attached. Remove any dirt, dust, or debris using a mild detergent and water solution, followed by a clean cloth or sponge. Allow the surface to dry completely before proceeding.
Apply Adhesive Strips: If using adhesive strips, carefully follow the manufacturer’s instructions for application. Place the adhesive strips on the underside of the bird spikes, ensuring even spacing and alignment. Press firmly to adhere the spikes securely to the metal railing.
Secure with Zip Ties: Alternatively, use zip ties to secure the bird spikes to the metal railing. Thread the zip ties through the pre-drilled holes in the base of the spikes and around the railing, ensuring a tight and secure fit. Trim any excess zip tie ends with scissors.
Utilize Clamps: For larger or heavier bird spikes, consider using clamps designed for temporary attachment to metal surfaces. Position the clamps around the metal railing and tighten securely to hold the bird spikes in place. Ensure the clamps do not cause damage or leave permanent marks on the railing.
Test for Stability: Once the bird spikes are attached, gently test the stability and security of the installation by applying light pressure or tapping on the spikes. Ensure they are firmly anchored to the metal railing and do not wobble or move easily.
Monitor and Maintain: Regularly inspect the bird spikes to ensure they remain securely attached to the metal railing. Replace any damaged or loose spikes promptly to maintain the effectiveness of the deterrent and prevent birds from returning.
Conclusion: By following these steps and utilizing non-damaging attachment methods, you can attach bird spikes securely on a second-floor metal railing without causing damage. This ensures effective bird control while preserving the integrity of the railing and maintaining the aesthetic appeal of the property.


