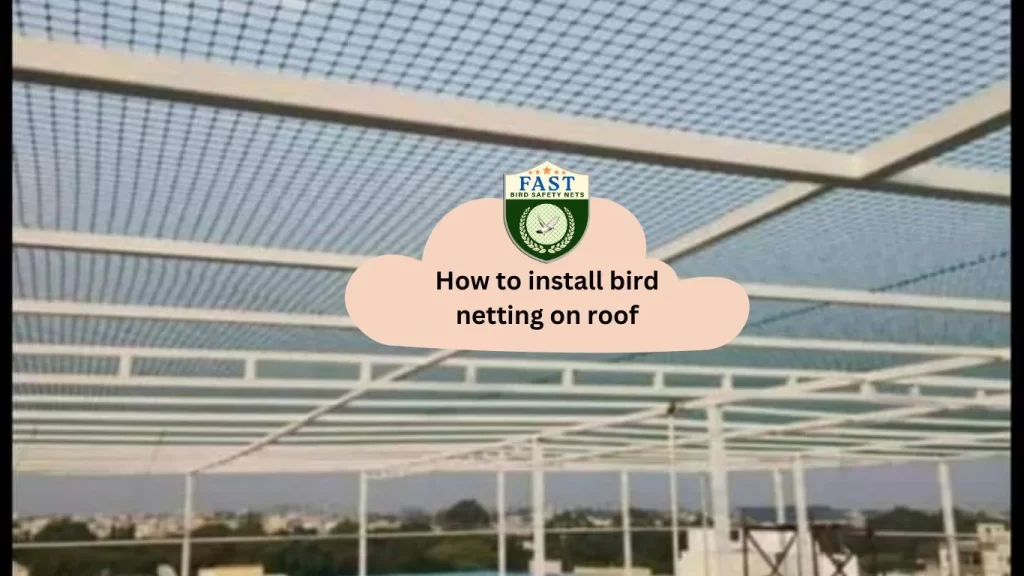
Installing bird netting on a roof is a strategic process that requires careful planning and precise execution. Here’s a step-by-step guide on how to install bird netting on a roof with Fast Safety Nets Hyderabad:
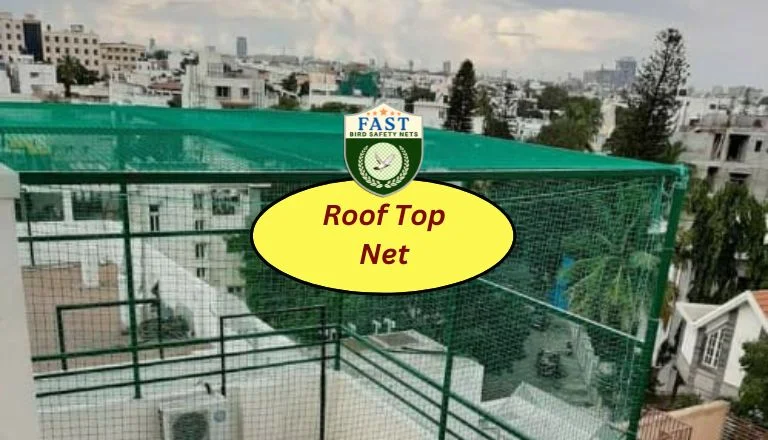
- Assessment: Begin by assessing the roof area to determine the extent of the bird infestation and identify potential entry points.
- Measurement: Measure the dimensions of the roof to calculate the amount of bird netting needed. Ensure to include extra material for proper coverage and attachment.
- Material Preparation: Purchase high-quality bird netting material from Fast Safety Nets Hyderabad. Choose a durable and UV-resistant material suitable for outdoor use.
- Roof Preparation: Clean the roof surface to remove any debris or dirt that may interfere with the installation process. Ensure the area is dry and free from obstructions.
- Installation Framework: Install a framework or support structure along the perimeter of the roof, using sturdy materials such as poles or cables. This framework will provide the necessary support for attaching the bird netting.
- Netting Attachment: Stretch the bird netting over the roof area, ensuring it covers all potential entry points for birds. Secure the netting to the framework using zip ties or fastening clips, ensuring a tight and secure fit.
- Sealing: Seal any gaps or openings along the edges of the netting to prevent birds from accessing underneath. Use additional zip ties or clips to secure the netting in place.
- Inspection: Once the bird netting is installed, conduct a thorough inspection to ensure all areas are properly covered and secured. Make any necessary adjustments or reinforcements as needed.
- Maintenance: Regularly inspect the bird netting for signs of damage or wear, and repair or replace as necessary to maintain its effectiveness.
By following these steps and utilizing the expertise of Fast Safety Nets Hyderabad, you can effectively install bird netting on your roof, providing long-lasting protection against bird infestations.

