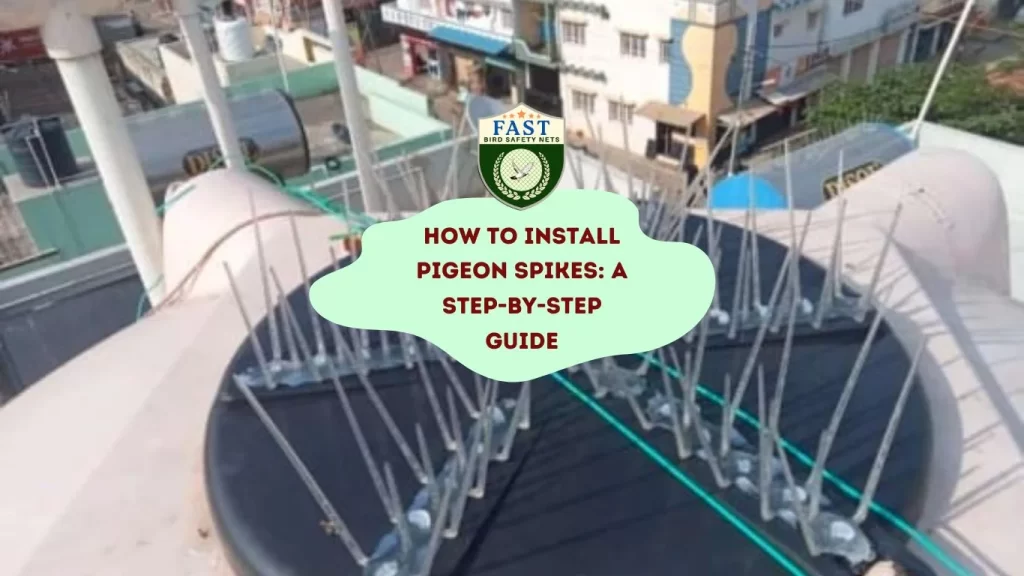

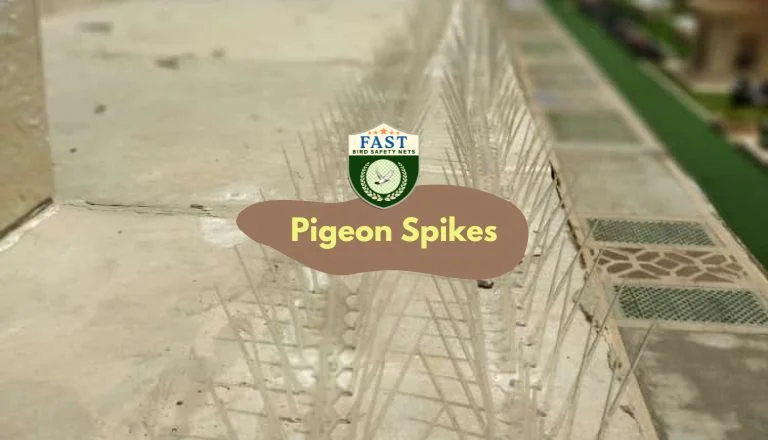
Pigeon spikes are a humane and effective solution to deter pigeons from perching and roosting on buildings and structures. Follow these steps for proper installation, brought to you by Fast Safety Nets Hyderabad:
Step 1: Gather Your Materials
Before you begin, ensure you have all the necessary materials:
- Pigeon spikes
- Adhesive (silicone or epoxy)
- Cleaning supplies (brush, cloth, detergent)
- Protective gear (gloves, safety goggles)
Step 2: Clean the Installation Area
Thoroughly clean the surfaces where you plan to install the pigeon spikes:
- Remove debris, bird droppings, and nesting materials.
- Wash the area with detergent and water, then let it dry completely.
Step 3: Measure and Mark the Installation Points
Using a measuring tape and marker, determine where you will install the pigeon spikes:
- Mark the areas along ledges, rooflines, or other perching spots where pigeons frequent.
- Space the marks evenly to ensure proper coverage.
Step 4: Prepare the Adhesive
Follow the manufacturer’s instructions to prepare the adhesive:
- Mix the adhesive if required.
- Load the adhesive into a caulking gun for easy application.
Step 5: Apply the Adhesive
Apply a generous amount of adhesive along the base of each pigeon spike:
- Squeeze the adhesive onto the underside of the spike base.
- Ensure full coverage to maximize adhesion.
Step 6: Install the Pigeon Spikes
Carefully place each pigeon spike onto the marked areas:
- Press the base of the spike firmly onto the adhesive.
- Hold in place for a few seconds to allow the adhesive to set.
Step 7: Secure with Screws (Optional)
For added security, consider using screws to reinforce the installation:
- Drill pilot holes through the base of the pigeon spikes.
- Insert screws into the holes and tighten securely.
Step 8: Allow Adhesive to Cure
Give the adhesive sufficient time to cure and bond the pigeon spikes to the surface:
- Follow the adhesive manufacturer’s recommended curing time.
- Avoid disturbing the spikes during this period.
Step 9: Clean Up
After installation, clean up any excess adhesive and debris from the work area:
- Use a cloth or scraper to remove adhesive residue.
- Dispose of any waste properly.
Step 10: Inspect the Installation
Once the adhesive has fully cured, inspect the installation to ensure the pigeon spikes are securely attached:
- Check for any loose or misaligned spikes.
- Make any necessary adjustments for optimal effectiveness.
Conclusion
By following these steps, you can effectively install pigeon spikes to deter pigeons from roosting on your property. For professional installation and high-quality pigeon spike products, contact Fast Safety Nets Hyderabad. Ensure a pigeon-free environment and protect your property with our reliable solutions.