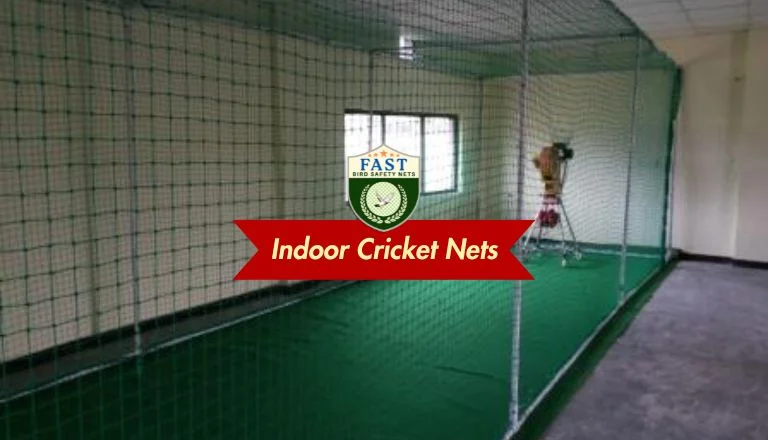

Indoor cricket nets are essential for practicing cricket in a safe and controlled environment. Proper installation ensures the cricket nets are secure and functional. Here’s a step-by-step guide to installing indoor cricket nets with Fast Safety Nets Hyderabad:

Step 1: Planning and Measurement
- Assess the Space
- Measure the area where the nets will be installed. Ensure there’s enough space for players to move and for the nets to hang freely without obstruction.
- Determine Net Specifications
- Decide on the net height, length, and width based on the available space and the level of play. Fast Safety Nets Hyderabad can help customize these specifications to meet your needs.
Step 2: Preparing the Materials
- High-Quality Nets
- Choose durable, high-tensile-strength nets that can withstand the impact of cricket balls. Fast Safety Nets Hyderabad provides top-quality nets designed specifically for cricket.
- Supporting Structures
- Ensure you have sturdy poles or frames to support the nets. These should be made from robust materials like steel or heavy-duty aluminum.
- Installation Accessories
- Gather necessary accessories such as hooks, anchors, cables, and tensioners to secure the nets properly.
Step 3: Installation Process
- Setting Up the Frame
- Erect the supporting poles or frame at the designated spots. Make sure they are securely anchored to the floor or ceiling to prevent any movement during play.
- Attaching the Nets
- Unroll the nets and attach them to the frame using hooks or ties. Ensure the nets are taut and do not sag, as this can affect their performance.
- Securing the Bottom
- Fasten the bottom of the nets to the ground or floor using anchors or weights. This prevents balls from escaping under the nets and keeps the playing area secure.
- Creating Entry Points
- Designate entry and exit points in the netting. These should be easily accessible and secure to prevent any disruption during practice.
Step 4: Safety Checks
- Inspect the Installation
- Check all attachments and anchors to ensure they are secure and stable. Look for any loose parts that might need tightening or reinforcing.
- Test the Nets
- Conduct a few practice sessions to test the nets. Ensure they effectively stop the balls and provide a safe playing environment.
Step 5: Maintenance and Upkeep
- Regular Inspections
- Periodically inspect the nets for wear and tear. Replace any damaged sections promptly to maintain safety and functionality.
- Cleaning
- Keep the nets clean by removing dirt and debris. This helps maintain their durability and appearance.
- Professional Support
- Fast Safety Nets Hyderabad offers ongoing maintenance and support services to ensure your indoor cricket nets remain in top condition.
Conclusion
Installing indoor cricket nets requires careful planning and execution to ensure safety and effectiveness. Fast Safety Nets Hyderabad provides high-quality nets and professional installation services tailored to your needs. Follow this guide to set up your indoor cricket nets and create an optimal practice environment. Contact Fast Safety Nets Hyderabad today to learn more about their solutions and schedule an installation. Elevate your indoor cricket experience with their expert services.


