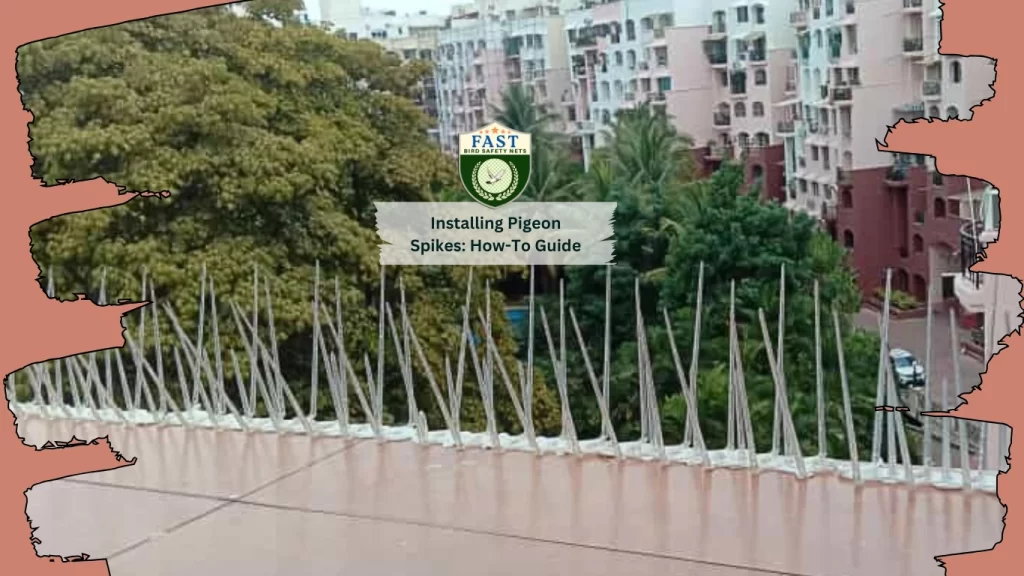

Pigeons, with their cooing and fluttering, may seem like harmless creatures, but when they decide to roost or nest in unwanted areas, they can become a nuisance, leaving behind unsightly droppings and potentially causing damage to property. Pigeon spikes offer a humane and effective solution to deter these birds from settling in undesirable locations. In this guide, we’ll walk you through the step-by-step process of installing pigeon spikes to reclaim your space and maintain a pigeon-free environment.
Step 1: Gather Materials
Before you start, get all the required materials:
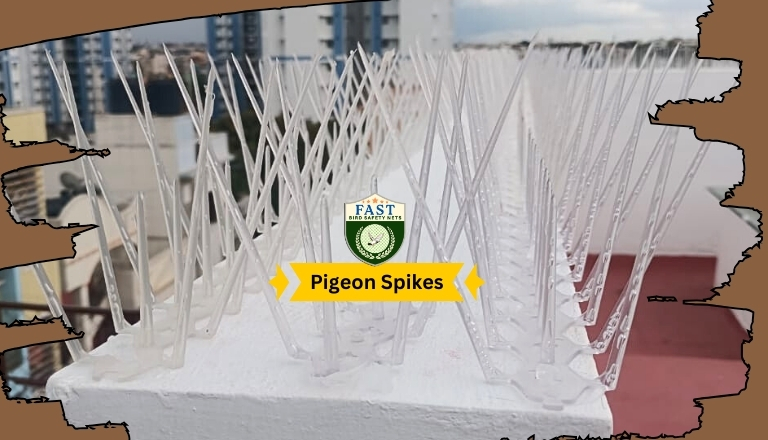
Pigeon spikes
Adhesive (such as silicone glue)
Protective gear (gloves, safety goggles)
Ladder (if working at heights)
Ensure that you have enough pigeon spikes to cover the desired area adequately.
Step 2: Assess the Area
Survey the area where you intend to install the pigeon spikes. Identify ledges, beams, or other surfaces where pigeons are likely to roost or perch. Make a note of any obstructions or irregularities that will affect the fixing process.
Step 3: Prepare the Surface
Clean the surface thoroughly to remove dirt, debris, and bird droppings. Ensure that the surface is dry and free from any moisture or residue, as this will help the adhesive bond effectively.
Step 4: Measure and Cut
If necessary, measure and cut the pigeon spikes to fit the dimensions of the area. Use a suitable cutting tool, such as heavy-duty scissors or wire cutters, to trim the spikes to the required length.
Step 5: Apply Adhesive
Apply a generous amount of adhesive along the base of each pigeon spike. Use a high-quality adhesive that is suitable for outdoor use and compatible with the material of the surface (e.g., concrete, wood, metal). Avoid using excessive adhesive that may ooze out and detract from the aesthetics of the installation.
Step 6: Install the Pigeon Spikes
Carefully place each pigeon spike onto the prepared surface, pressing firmly to ensure proper adhesion. Position the spikes in a parallel alignment, leaving no gaps for pigeons to land or perch comfortably. Take care to maintain a consistent spacing between the spikes for optimal coverage.
Step 7: Secure and Reinforce
Once all the pigeon spikes are in place, apply additional adhesive around the edges and corners to reinforce the installation. Double-check that each spike is securely bonded to the surface and make any necessary adjustments before the adhesive sets.
Step 8: Allow Time to Cure
Allow enough time for the adhesive to get dried and bond effectively. Follow the manufacturer’s instructions regarding the drying and curing time, ensuring that the pigeon spikes are firmly attached before exposing them to potential bird activity.
Step 9: Monitor and Maintain
Regularly inspect the pigeon spikes to ensure they remain intact and effective in deterring pigeons. Clean the spikes periodically to remove any accumulated debris or bird droppings that may reduce their efficacy. Additionally, monitor the surrounding area for any signs of pigeon activity and take prompt action to address any issues.
Conclusion:
Installing pigeon spikes is a practical and humane method for deterring pigeons from roosting or nesting in unwanted areas. By following this step-by-step guide, you can effectively install pigeon spikes to reclaim your space and maintain a pigeon-free environment. With proper installation and maintenance, you can enjoy long-term protection against pesky pigeons while preserving the aesthetics and integrity of your property.