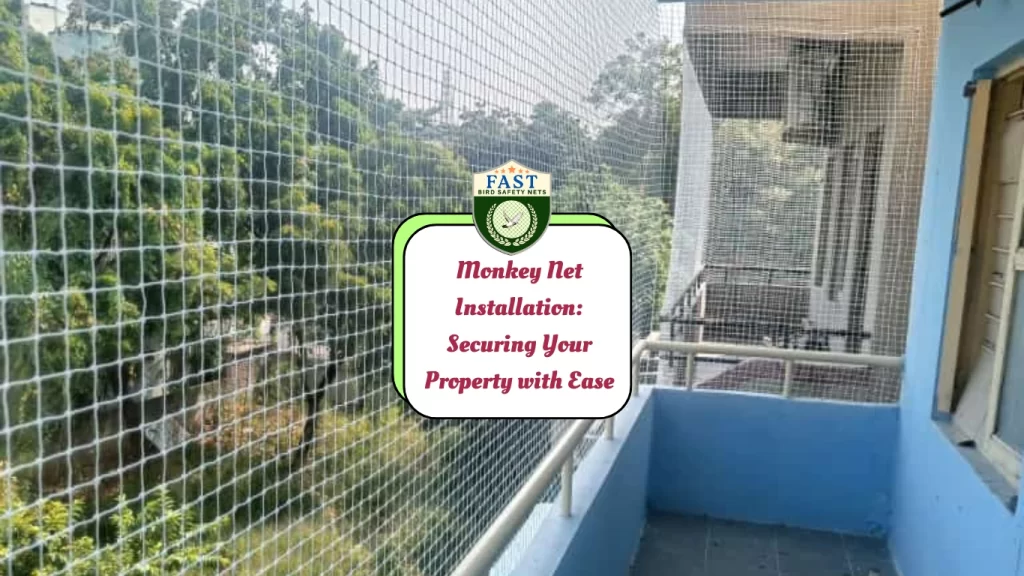

Monkeys can be charming to watch from a distance, but they can cause significant problems when they invade your property. From damaging gardens to creating messes, these mischievous animals can be quite a nuisance. Installing a monkey net is an effective way to secure your property and keep these animals at bay. Here’s a step-by-step guide for Monkey Net Installation.
1. Understanding the Need for Monkey Nets
Monkey nets are essential for several reasons:
- Property Protection: Prevent damage to gardens, roofs, and outdoor furniture.
- Safety: Reduce the risk of monkeys entering your home and causing harm.
- Hygiene: Keep monkey droppings and food scraps away from your living areas.
- Peace of Mind: Avoid the stress and disturbances caused by monkey invasions.
2. Selecting the Right Monkey Net
Choose the appropriate netting based on your needs:
- Material: UV-stabilized polyethylene or heavy-duty nylon for durability.
- Mesh Size: Ensure the mesh is small enough to prevent monkeys from passing through.
- Strength: Opt for a strong, tear-resistant net to withstand monkey activity.
3. Measuring Your Installation Area
Accurate measurements are crucial for a proper fit:
- Measure the length, width, and height of the area you wish to cover.
- Account for any irregular shapes or protrusions that might affect net installation.
4. Gathering Tools and Materials
Ensure you have all necessary tools and materials before starting:
- Monkey netting
- Measuring tape
- Scissors or a utility knife
- Heavy-duty zip ties or nylon ropes
- Hooks, screws, and wall plugs
- Drill with appropriate drill bits
- Ladder or step stool
5. Preparing the Installation Area
Prepare the area for net installation:
- Clear any debris or obstructions.
- Ensure surfaces are clean and dry for better adherence of hooks or screws.
6. Installing the Hooks or Screws
Set up the attachment points for the net:
- Determine the optimal locations for hooks or screws, typically at corners and midpoints.
- Drill holes and insert wall plugs if necessary.
- Securely install hooks or screws, ensuring they can support the net’s weight.
7. Attaching the Net
Secure the net to the prepared points:
- Begin by attaching one corner of the net to a hook or screw using zip ties or rope.
- Continue securing the net along the perimeter, maintaining tension to avoid sagging.
- Check the fit as you go to ensure the net is taut and covers the desired area completely.
8. Final Adjustments and Securing Edges
Ensure the net is firmly in place:
- Secure any loose edges with additional zip ties or rope.
- Trim excess netting for a neat finish.
- Verify that there are no gaps or weak points where monkeys could enter.
9. Regular Maintenance
Maintain the effectiveness of your monkey net:
- Inspect regularly for damage or wear.
- Clean the net periodically to remove debris.
- Repair any tears or loose sections promptly to maintain security.
Conclusion
Monkey Net Installation is a practical and effective solution for securing your property against unwanted monkey intrusions. By carefully selecting the right netting, accurately measuring and preparing the installation area, and following a systematic installation process, you can enjoy a monkey-free space. Regular maintenance will ensure long-term effectiveness, providing peace of mind and protection for your property.


