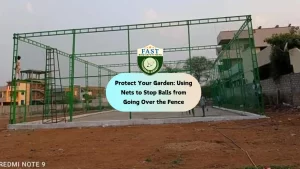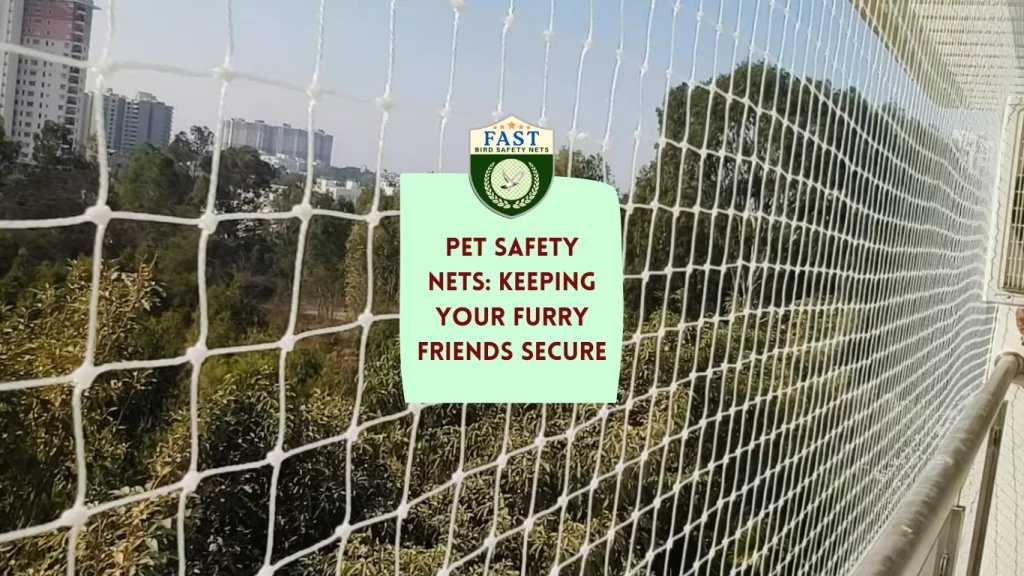

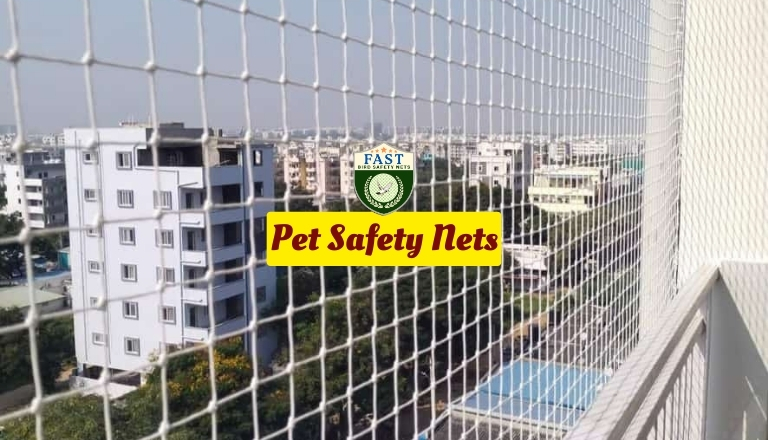
Pets are beloved members of our families, and their safety is a top priority. Whether you live in an apartment or a house with a balcony or open spaces, ensuring these areas are secure is essential to prevent accidents. Pet safety nets are an effective way to keep your furry friends safe. Here’s a comprehensive guide on installing pet safety nets to create a secure environment for your pets.
1. Understanding the Importance of Pet Safety Nets
Pet safety nets serve several crucial functions:
- Preventing Falls: Protect pets from falling off balconies, windows, or open staircases.
- Ensuring Play Safety: Create safe play areas where pets can roam without risk.
- Protecting from Wildlife: Keep unwanted animals out of your property, ensuring your pets remain safe.
2. Choosing the Right Pet Safety Net
Selecting the appropriate net is vital for effectiveness:
- Material: Opt for durable, weather-resistant materials such as polyethylene or nylon.
- Mesh Size: Choose a mesh size that prevents pets from getting their heads or paws stuck.
- Strength: Ensure the net is strong enough to withstand your pet’s weight and activity level.
3. Measuring the Installation Area
Accurate measurements are key to a proper fit:
- Measure the height, width, and length of the area where the net will be installed.
- Consider any obstacles or unique features of the space that may require special adjustments.
4. Gathering Tools and Materials
Prepare all necessary tools and materials before beginning the installation:
- Pet safety netting
- Measuring tape
- Scissors or utility knife
- Heavy-duty zip ties or nylon rope
- Hooks, screws, and wall plugs
- Drill with appropriate drill bits
- Ladder or step stool
5. Preparing the Area for Installation
Proper preparation ensures a smooth installation process:
- Clear the area of any debris or objects that might hinder installation.
- Clean and dry surfaces where hooks or screws will be attached.
6. Installing Hooks or Screws
Securely set up attachment points for the net:
- Determine the best locations for hooks or screws, usually at corners and along edges.
- Drill holes and insert wall plugs if needed.
- Firmly install hooks or screws, ensuring they can support the net’s tension and weight.
7. Attaching the Net
Secure the net to the prepared points:
- Start by attaching one corner of the net to a hook or screw using zip ties or rope.
- Continue securing the net along the perimeter, ensuring it is taut and free from sagging.
- Regularly check the tension and fit as you attach the net to ensure complete coverage.
8. Final Adjustments and Securing Edges
Ensure the net is properly and securely installed:
- Tighten any loose sections and secure edges with additional zip ties or rope.
- Trim any excess netting for a tidy appearance.
- Inspect the installation to ensure there are no gaps or weak points.
9. Regular Maintenance
Maintain the effectiveness of your pet safety net with regular upkeep:
- Inspect the net periodically for signs of wear or damage.
- Clean the net as needed to remove dirt and debris.
- Repair any tears or loosened areas promptly to ensure continuous safety.
Conclusion
Pet safety nets are an essential tool for creating a secure environment for your pets, preventing accidents, and giving you peace of mind. By selecting the right netting, accurately measuring and preparing the installation area, and following a thorough installation process, you can protect your furry friends effectively. Regular maintenance will ensure the net remains in good condition, providing long-term safety for your pets.