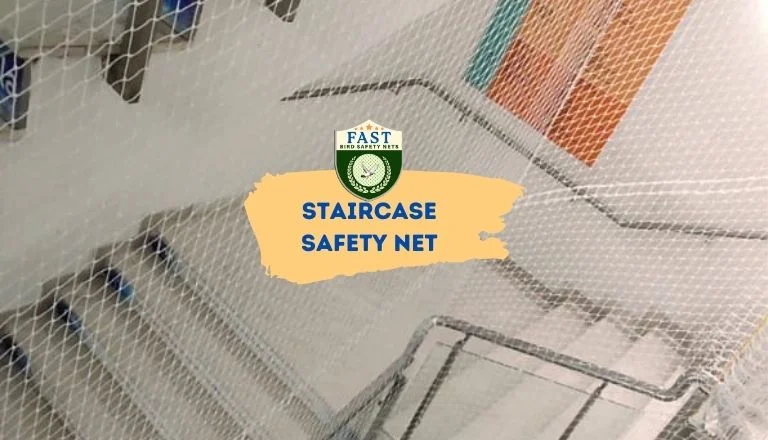
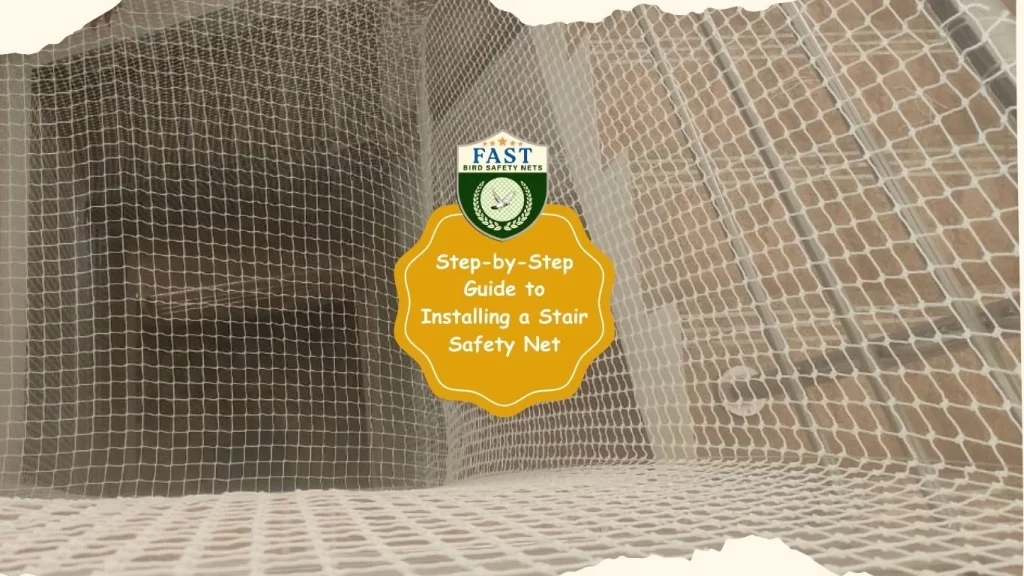
Installing a stair safety net is essential for protecting children and pets from potential accidents on staircases. Safety nets provide a barrier that prevents falls and injuries, giving parents peace of mind while allowing children to explore and play safely. In this step-by-step guide, we’ll walk you through the process of installing a stair safety net, ensuring a secure and effective barrier for your home.

Step 1: Measure the Staircase
The first step in installing a stair safety net is to accurately measure the dimensions of your staircase. Measure the width and height of each section of the staircase where you intend to install the net. Be sure to account for any irregularities or obstructions, such as handrails or banisters, that may affect the installation.
Step 2: Choose the Right Net
Select a stair safety net that is appropriate for the size and configuration of your staircase. Look for nets specifically designed for staircases, as they often come with features such as adjustable widths and mounting hardware tailored for stairway use. Ensure the net is made of durable, high-quality materials that can withstand the rigors of daily use.
Step 3: Prepare the Installation Area
Before installing the safety net, thoroughly clean and dry the surfaces where the mounting hardware will be attached. Remove any dust, dirt, or debris that could interfere with the adhesion of the hardware. Ensure the area is free from obstructions and hazards that could pose a safety risk during the installation process.
Step 4: Install Mounting Hardware
Depending on the type of stair safety net you’ve chosen, you may need to install mounting hardware such as hooks, brackets, or tension rods. Follow the manufacturer’s instructions carefully to ensure proper placement and secure attachment of the hardware. Use a level to ensure that the mounting hardware is installed evenly and securely.
Step 5: Attach the Net
Once the mounting hardware is in place, carefully attach the safety net to the hooks, brackets, or tension rods. Start at one end of the staircase and work your way across, ensuring that the net is stretched taut and securely fastened at each attachment point. Adjust the tension as needed to achieve a snug fit without sagging or gaps.
Step 6: Test the Net
After installing the safety net, perform a thorough inspection to ensure that it is securely attached and free from defects or damage. Test the net by gently pushing on it from different angles to simulate the force of a child or pet leaning against it. Ensure that the net remains stable and intact, with no signs of loosening or failure.
Step 7: Make Adjustments
If necessary, make any adjustments to the installation to improve the fit and stability of the safety net. Check for any areas where the net may be sagging or bulging and reposition the mounting hardware as needed to correct these issues. Trim any excess netting or adjust the tension rods to achieve a clean, uniform appearance.
Conclusion:
Installing a stair safety net is a straightforward process that can significantly enhance the safety of your home, especially for families with young children or pets. By following these step-by-step instructions and taking the time to ensure proper installation and maintenance, you can create a secure barrier that provides peace of mind and prevents accidents on your staircase.


