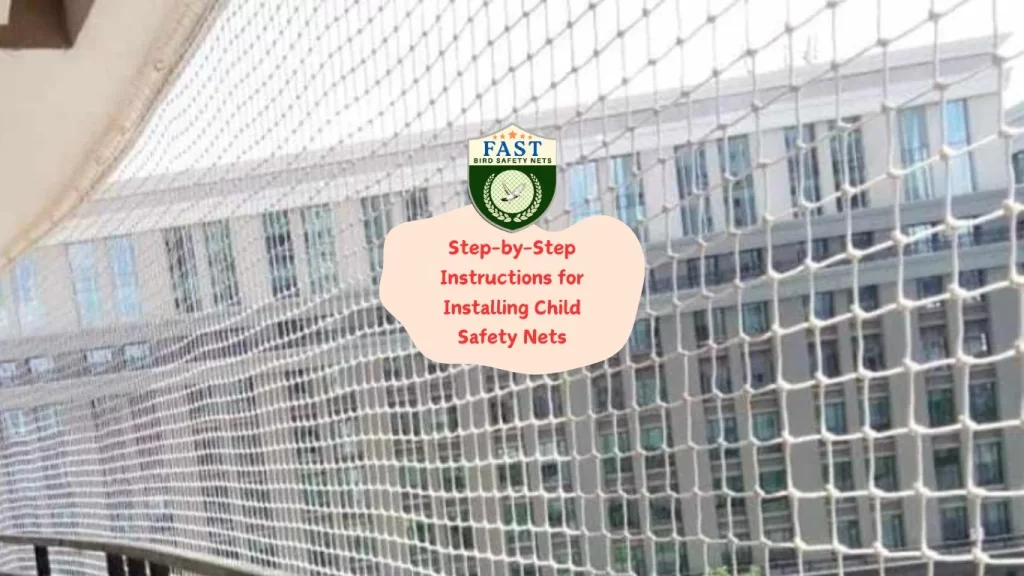

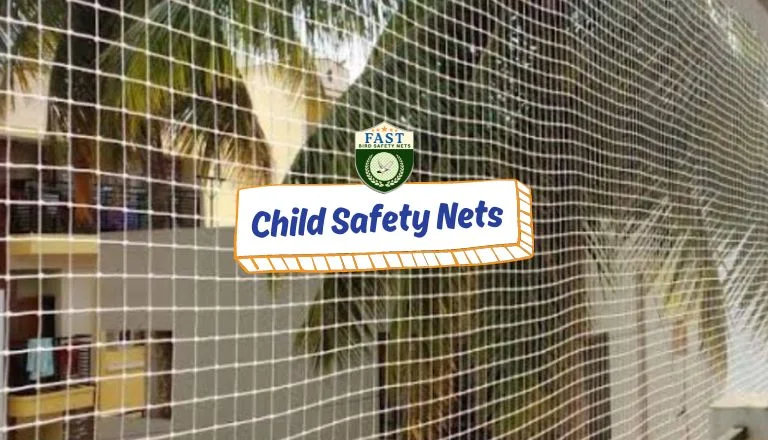
Installing child safety nets on your balcony is a crucial step to ensure the safety of your children. Here’s a detailed guide to help you install these nets effectively:
Materials Needed
- Child safety net (purchased from Fast Safety Nets Hyderabad)
- Measuring tape
- Ladder
- Marking pen or chalk
- Drill
- Screws and wall plugs
- Cable ties or rope
- Scissors
- Safety gloves
Step 1: Measure the Area
- Measure the Balcony: Use a measuring tape to determine the height and width of the area where you want to install the safety net.
- Record Dimensions: Note down the measurements accurately to ensure the net fits perfectly.
Step 2: Prepare the Net
- Unpack the Net: Carefully unpack the child safety net.
- Cut to Size: If necessary, cut the net to fit the measured dimensions. Leave a little extra on all sides for secure installation.
Step 3: Mark the Installation Points
- Mark the Positions: Using a marking pen or chalk, mark the positions where the screws will be placed. Typically, these should be at intervals of 15-20 cm along the top and bottom edges of the balcony.
Step 4: Drill Holes
- Safety First: Wear safety gloves to protect your hands.
- Drill Holes: Use a drill to make holes at the marked positions. Ensure the holes are deep enough to securely hold the screws and wall plugs.
Step 5: Install Screws and Wall Plugs
- Insert Wall Plugs: Push wall plugs into the drilled holes.
- Screw Installation: Secure the screws into the wall plugs, leaving a small gap to attach the net.
Step 6: Attach the Net
- Secure the Top Edge: Start by attaching the top edge of the net to the screws using cable ties or rope. Ensure the net is tight and secure.
- Secure the Bottom Edge: Attach the bottom edge of the net in the same way. Make sure there is no slack in the net.
Step 7: Final Adjustments
- Check for Gaps: Ensure there are no gaps between the net and the balcony edges where a child could slip through.
- Tighten: Tighten all cable ties or ropes to ensure the net is securely fastened.
Step 8: Test the Installation
- Safety Check: Gently press against the net to check its stability. It should be firm and securely attached.
- Adjust if Needed: If there are any loose areas, tighten the cable ties or ropes further.
Step 9: Trim Excess Material
- Cut Excess: Use scissors to trim any excess netting or cable ties.
- Neat Finish: Ensure the installation looks neat and tidy.
Step 10: Regular Maintenance
- Regular Checks: Periodically check the safety net for any signs of wear and tear.
- Re-secure: Tighten any loose attachments to maintain the net’s effectiveness.
Conclusion
Installing a child safety net with Fast Safety Nets Hyderabad ensures the safety of your children while maintaining the aesthetic appeal of your balcony. Follow these steps carefully for a secure and effective installation. If you need professional help, don’t hesitate to contact Fast Safety Nets Hyderabad for expert assistance.