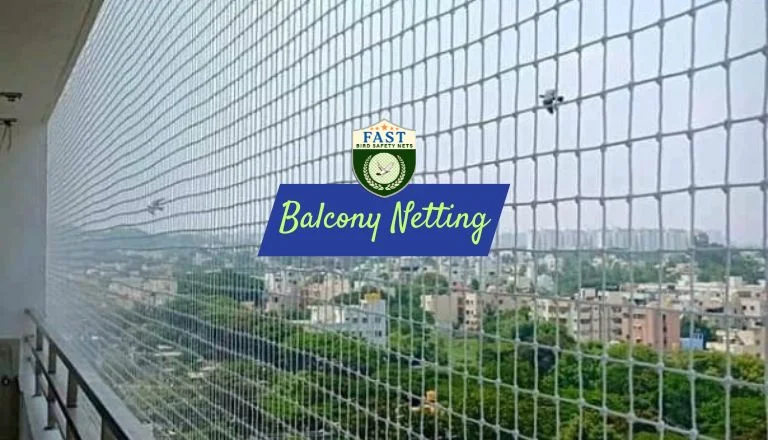
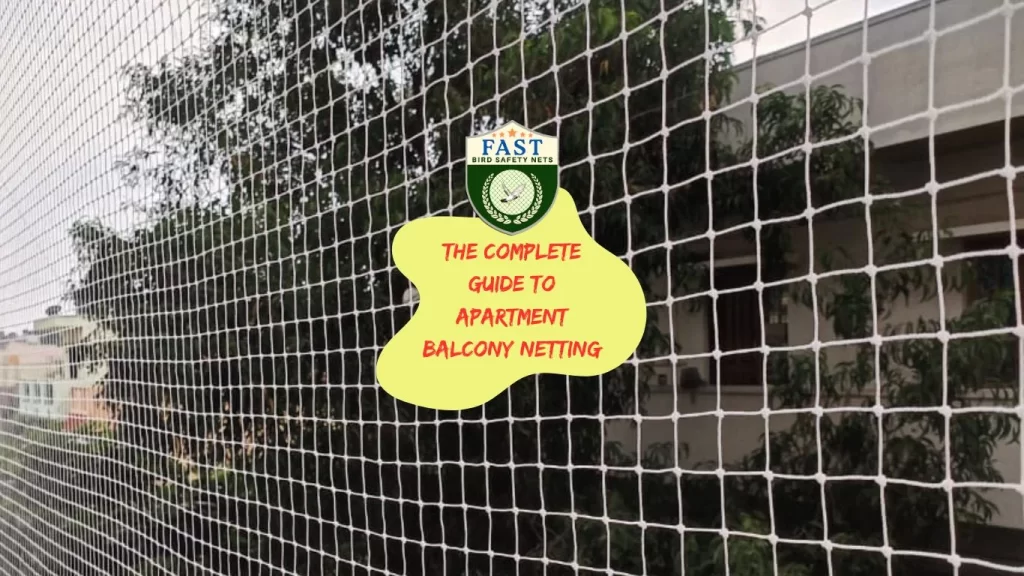
Apartment balcony netting is a practical solution for ensuring safety and comfort in high-rise living. Whether you want to prevent birds from making a mess or keep your children and pets safe, netting is a versatile option. This guide will walk you through everything you need to know about installing balcony netting with Fast Safety Nets Hyderabad.

Why Choose Balcony Netting?
- Enhanced Safety: Netting prevents accidental falls, making your balcony a safer space for children and pets.
- Bird Protection: Keeps birds away, preventing them from nesting or creating messes on your balcony.
- Weather Resistance: Made from durable materials, balcony nets can withstand various weather conditions.
Types of Balcony Netting
- Child Safety Nets: Designed to prevent children from climbing or falling through the railing.
- Bird Protection Nets: Fine mesh nets that keep birds out while allowing air and light to pass through.
- Pet Safety Nets: Similar to child safety nets but tailored for pets to prevent them from jumping or falling.
Materials and Tools Needed:
- Balcony netting
- Net installation hardware (clips, screws, anchors)
- Measuring tape
- Scissors or wire cutters
- Drill and drill bits
- Screwdriver
- Ladder
- Safety gear (gloves, goggles)
Step-by-Step Installation Guide
- Measure Your Balcony
- Accurate Measurements: Measure the dimensions of your balcony to ensure you get the right size net.
- Allow for Extra: Add a few extra inches to your measurements to ensure a snug fit.
- Prepare the Installation Area
- Clean the Surface: Remove any debris from the balcony railing and surrounding area.
- Mark Installation Points: Use a pencil to mark where you will install the hardware for the net.
- Install the Net Hardware
- Drill Holes: Drill holes at the marked points, using the appropriate drill bit size.
- Insert Anchors: Place anchors into the drilled holes if needed.
- Attach Clips or Screws: Securely fasten the clips or screws into the anchors.
- Install the Netting
- Unroll and Position: Unroll the net and position it over the balcony area.
- Secure the Net: Attach the net to the clips or screws, making sure it is taut and evenly distributed.
- Trim Excess: Cut off any excess netting for a clean, professional look.
- Final Adjustments
- Check for Gaps: Ensure there are no gaps where birds or pets might get through. Adjust the net as needed.
- Test Stability: Make sure the net is securely fastened and will not come loose.
- Clean Up
- Dispose of Waste: Properly dispose of any leftover materials and packaging.
- Final Inspection: Conduct a final check to ensure everything is installed correctly and securely.
Conclusion
Balcony netting is an effective way to enhance safety and prevent unwanted issues on your apartment balcony. With Fast Safety Nets Hyderabad, you can get high-quality netting solutions and professional installation to meet your needs. Contact Fast Safety Nets Hyderabad today to learn more about our services and how we can help make your balcony safe and comfortable.


