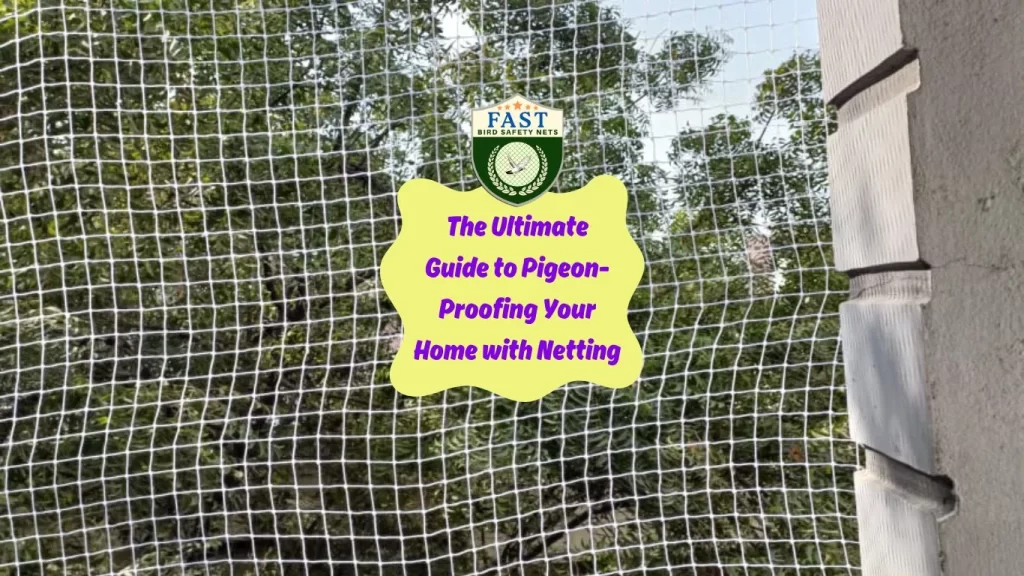
Pigeons can be a persistent problem for homeowners, leading to damage, mess, and potential health risks. One of the most effective solutions to keep these birds away is installing netting. This guide will walk you through the process of pigeon-proofing your home with netting, specifically highlighting the services and options available through Fast Safety Nets in Hyderabad.

Why Pigeon-Proofing is Necessary
- Health Risks: Pigeons can carry diseases such as histoplasmosis, cryptococcosis, and psittacosis.
- Damage to Property: Pigeon droppings are acidic and can damage buildings, vehicles, and other structures.
- Mess and Odor: Accumulated droppings can create an unsightly mess and unpleasant odor.
- Noise: The constant cooing and fluttering can be a nuisance, especially early in the morning.
Choosing the Right Netting
There are several factors to consider when choosing netting for pigeon-proofing:
- Material: UV-stabilized polyethylene is a popular choice due to its durability and resistance to weather conditions.
- Mesh Size: The mesh size should be small enough to prevent pigeons from getting through, typically around 1-2 inches.
- Color: Netting comes in various colors, such as black, white, and stone, to blend with your building’s aesthetics.
Benefits of Using Fast Safety Nets in Hyderabad
Fast Safety Nets Hyderabad is known for its reliable and efficient pigeon netting services. Here are some reasons to consider them:
- Experienced Professionals: Their team has extensive experience in installing pigeon netting for residential and commercial properties.
- Quality Materials: They use high-quality, durable materials that can withstand harsh weather conditions.
- Custom Solutions: They offer customized netting solutions tailored to the specific needs of your property.
- Affordable Pricing: Competitive pricing without compromising on quality.
- Prompt Service: Quick response time and efficient installation process.
Steps to Install Pigeon Netting
1. Assessment
Begin by assessing the areas where pigeons are a problem. Common areas include balconies, rooftops, air conditioning units, and ledges.
2. Measure and Plan
Measure the dimensions of the areas that need to be covered. Plan the installation, including where the netting will be attached.
3. Gather Materials
Ensure you have all necessary materials:
- Netting (UV-stabilized polyethylene)
- Mounting hardware (hooks, brackets, or adhesive)
- Cables or ties
- Scissors or a cutter
- Ladder or scaffolding
4. Prepare the Area
Clean the area thoroughly to remove any pigeon droppings and debris. This will help in better adhesion and securing of the netting.
5. Install the Mounting Hardware
Attach hooks or brackets around the perimeter of the area. Ensure they are evenly spaced to provide adequate support for the netting.
6. Attach the Netting
Secure one end of the netting to the mounting hardware and stretch it across the area. Attach the other end, making sure the netting is taut. Use cables or ties to secure the netting to the hooks or brackets.
7. Inspect and Adjust
Check the netting for any gaps or loose areas that pigeons could exploit. Make necessary adjustments to ensure the netting is secure and effective.
Maintenance Tips
- Regular Inspections: Periodically check the pigeon netting for any damage or wear and tear.
- Cleaning: Clean the netting as needed to remove dirt and debris, ensuring it remains effective and visually appealing.
- Repairs: Promptly repair any holes or damage to prevent pigeons from getting through.


