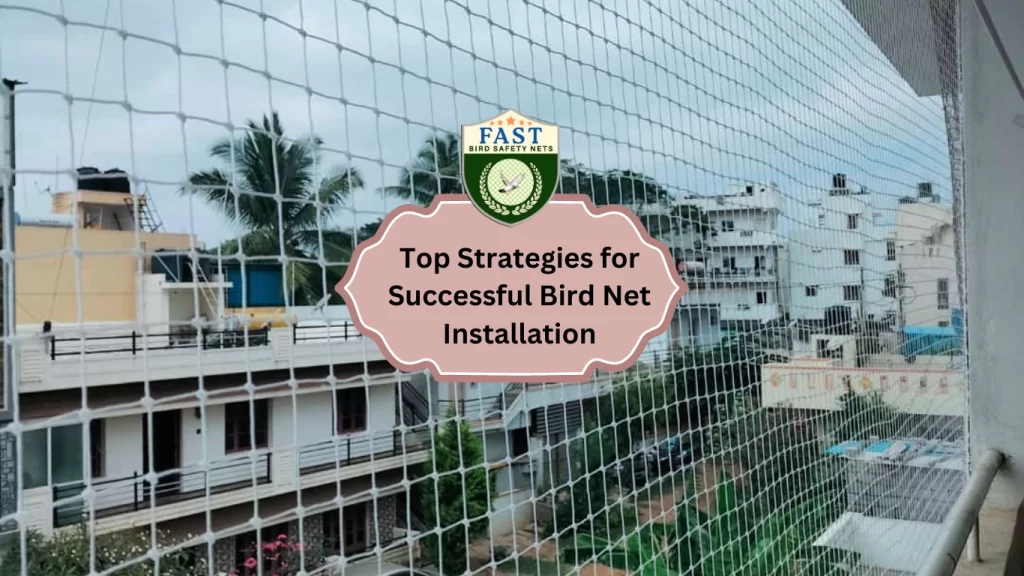
Birds can become a nuisance, causing damage and leaving droppings in residential and commercial properties. Installing bird nets is an effective solution to keep them at bay. However, successful installation requires careful planning and execution. Here are expert strategies to ensure your bird net installation is effective and hassle-free.
1. Thorough Assessment: Understanding Your Property
Begin by thoroughly assessing your property to identify areas vulnerable to bird infestation. Walk around your property and note where birds roost, nest, or access your building. Pay attention to rooftops, balconies, eaves, ledges, and any outdoor structures.
2. Choose the Right Netting: Quality Matters
Selecting the appropriate bird netting is crucial for long-term effectiveness. Choose high-quality nets made from durable materials such as polyethylene or nylon. Ensure the netting has small mesh sizes to prevent birds from squeezing through or becoming entangled.
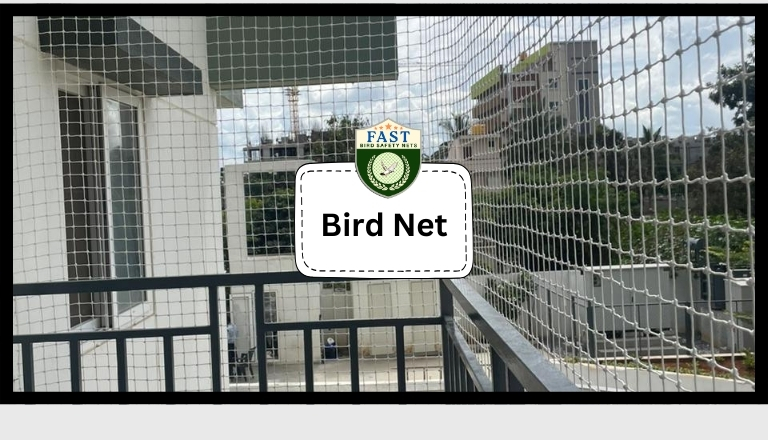
3. Accurate Measurement: Measure Twice, Install Once
Take accurate measurements of the areas you plan to cover with bird nets. Measure the length, width, and height of each area, including any openings or gaps. This ensures you purchase the correct amount of netting and cover all potential entry points.
4. Secure Installation: Strong Support Structures
Ensure your bird netting is securely installed by using sturdy support structures. Depending on your property’s layout, this may include poles, cables, hooks, or brackets. Anchor the support structures firmly to withstand wind and bird pressure.
5. Seal Entry Points: Close Off Access
Before installing bird nets, seal off any gaps or openings where birds could enter your property. Use sealants, bird spikes, or other deterrents to block access points such as vents, gaps in eaves, and gaps under roofing tiles.
6. Regular Maintenance: Keep Nets Intact
Schedule regular inspections and maintenance to keep your bird nets in top condition. Check for any tears, damage, or signs of wear and tear, and repair them promptly. Trim vegetation near the nets to prevent birds from using it as a perch.
7. Consider Aesthetics: Blending In
Choose bird nets that blend seamlessly with your property’s aesthetics. Opt for netting colors that match your building’s exterior or surroundings. Install the nets in areas where they are less visible to maintain the property’s visual appeal.
8. Monitor Effectiveness: Stay Vigilant
After installation, monitor the effectiveness of your bird nets regularly. Look for signs of bird activity or attempts to breach the nets. Make adjustments as needed to reinforce weak spots and ensure continued protection.
9. Professional Assistance: Expert Help When Needed
If you’re unsure about installing bird nets yourself, consider hiring a professional service. Experienced technicians can assess your property, recommend the best bird control solutions, and ensure proper installation for optimal results.
10. Legal Compliance: Know the Regulations
Before installing bird nets, familiarize yourself with any local regulations or restrictions regarding bird control measures. Ensure your Bird Net Installation complies with all relevant laws and regulations to avoid any legal issues.
By following these top strategies, you can successfully install bird nets to protect your property from avian pests. With careful planning, quality materials, and proper installation, you can enjoy a bird-free environment and preserve the integrity of your property.

