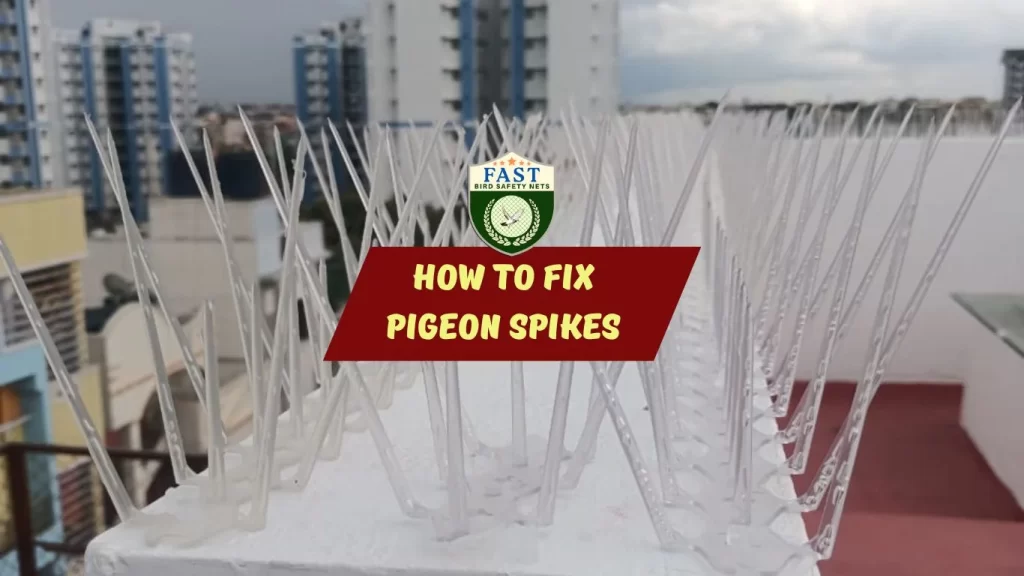

Pigeon spikes are a highly effective solution for deterring birds from landing and roosting on surfaces. However, over time, they may require maintenance or replacement to ensure continued effectiveness. Here’s a step-by-step guide on how to fix pigeon spikes:
- Inspect the Spikes: Start by visually inspecting the pigeon spikes to identify any damage or signs of wear and tear. Look for broken or bent spikes, loose adhesive, or rusting.
- Clean the Surface: Before fixing the pigeon spikes, clean the surface where they will be installed. Remove any debris, bird droppings, or dirt using a brush, detergent, and water. Ensure the surface is dry before proceeding.
- Prepare Adhesive: If the pigeon spikes are adhesive-based, prepare the adhesive according to the manufacturer’s instructions. Typically, this involves mixing two-part epoxy or applying adhesive directly to the base of the spikes.
- Apply Adhesive: Apply the adhesive to the base of each pigeon spike using a caulking gun or spatula. Ensure even coverage to maximize adhesion.
- Position the Spikes: Carefully position the pigeon spikes on the cleaned and adhesive-prepared surface. Press down firmly to ensure proper contact between the spikes and the surface.
- Secure the Spikes: If the pigeon spikes come with pre-drilled holes, use screws or nails to secure them in place for added stability. Otherwise, rely on the adhesive to hold the spikes firmly.
- Allow Time to Cure: Allow the adhesive to cure completely as per the manufacturer’s instructions before allowing birds to come into contact with the spikes. This typically takes 24 to 48 hours.
- Monitor and Maintain: Regularly inspect the fixed pigeon spikes for any signs of damage or detachment. Clean the spikes and the surrounding area as needed to maintain their effectiveness.
By following these steps, you can effectively fix pigeon spikes and ensure long-lasting bird deterrence. Regular maintenance and inspection will help keep your property bird-free and protected.