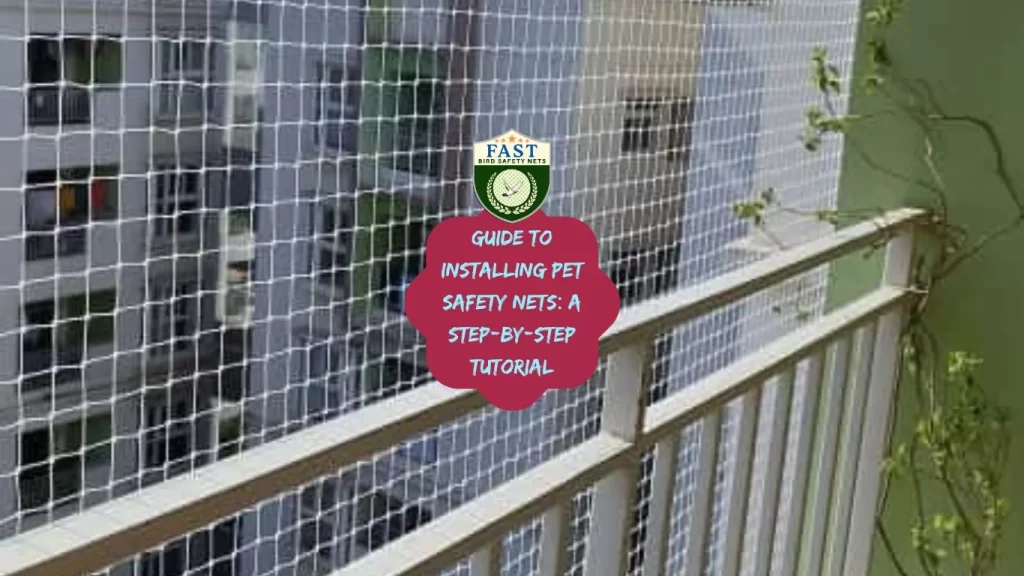
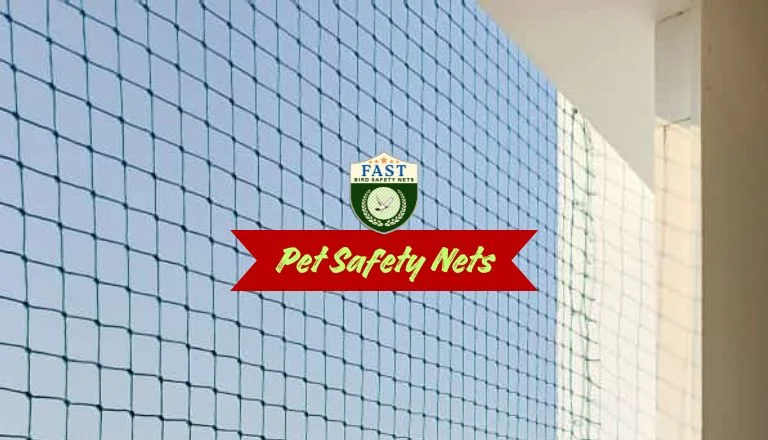
Ensuring the safety of your pets is a top priority, especially if you live in an apartment with balconies or open spaces. Pet safety nets are an excellent solution to keep your furry friends safe from accidental falls and injuries. Here’s a comprehensive step-by-step guide to installing pet safety nets, brought to you by Fast Safety Nets Hyderabad.
Step 1: Measure Your Space
Before purchasing a pet safety net, measure the area where you plan to install it. Ensure you measure the width, height, and length accurately. This will help you buy the correct size of netting material.
- Tools Needed: Measuring tape, notepad, and pen.
Step 2: Choose the Right Netting Material
Select a high-quality, durable netting material suitable for your specific needs. At Fast Safety Nets Hyderabad, we offer a variety of pet safety nets designed to withstand weather conditions and wear and tear.
- Considerations: Material strength, UV resistance, and color options.
Step 3: Gather Necessary Tools and Materials
Ensure you have all the tools and materials needed for installation. These typically include the netting, hooks or brackets, a drill, screws, and zip ties.
- Tools Needed: Drill, screwdriver, zip ties, hooks/brackets, and screws.
Step 4: Install Mounting Hooks or Brackets
Mark the positions where you will install the mounting hooks or brackets. These should be evenly spaced along the edges of the area to ensure the net is securely fastened.
- Drill Holes: Use the drill to make holes at the marked spots.
- Install Hooks/Brackets: Secure the hooks or brackets into the drilled holes using screws.
Step 5: Attach the Netting
Unroll the netting material and attach it to the hooks or brackets. Start from one corner and work your way around, ensuring the net is taut and secure.
- Tip: Use zip ties to fasten the netting to the hooks or brackets for added security.
Step 6: Secure the Bottom of the Net
Ensure the bottom of the net is tightly secured to prevent pets from squeezing underneath. You can use additional hooks, brackets, or heavy objects to weigh down the net.
- Options: Use weights, additional screws, or ties to secure the bottom.
Step 7: Double-Check the Installation
After attaching the net, inspect the installation to ensure there are no loose areas or gaps. Make any necessary adjustments to ensure the net is secure and safe for your pets.
- Inspection Points: Check for tightness, secure fastening, and absence of gaps.
Step 8: Regular Maintenance
Regularly check the pet safety net for any signs of wear and tear. Ensure it remains securely fastened and replace any damaged sections promptly.
- Maintenance Tips: Inspect monthly, clean if needed, and replace worn-out parts.
Why Choose Fast Safety Nets Hyderabad?
At Fast Safety Nets Hyderabad, we provide high-quality, durable pet nets tailored to your specific needs. Our expert team offers professional installation services, ensuring your pets are protected effectively and efficiently.
Conclusion
Installing pet safety nets is a straightforward process that can significantly enhance the safety of your home for your pets. By following this step-by-step guide and choosing Fast Safety Nets Hyderabad, you can ensure a secure environment for your furry friends. Contact us today for more information and to schedule a professional installation.
Keep your pets safe and secure with Fast Safety Nets Hyderabad!

