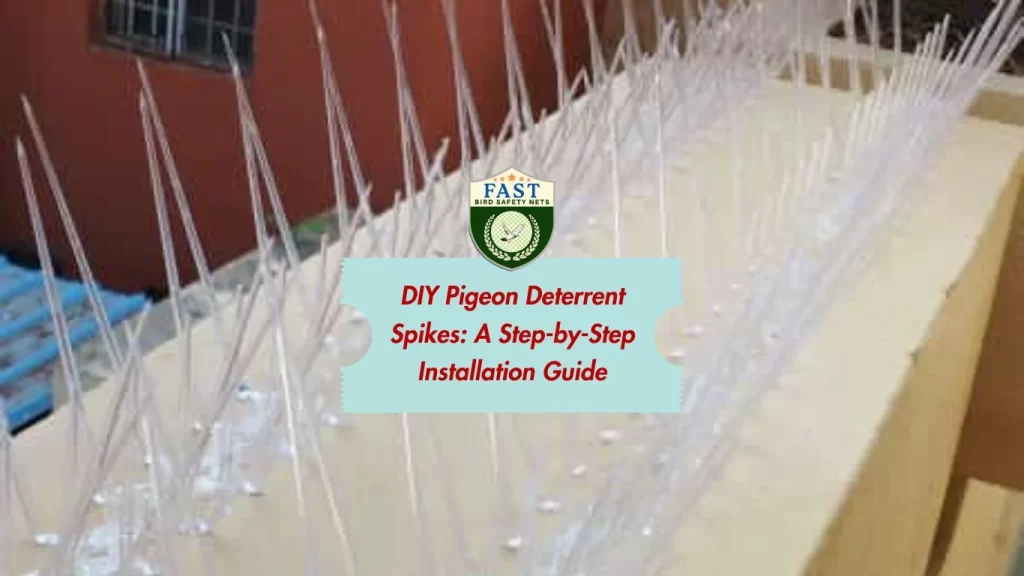

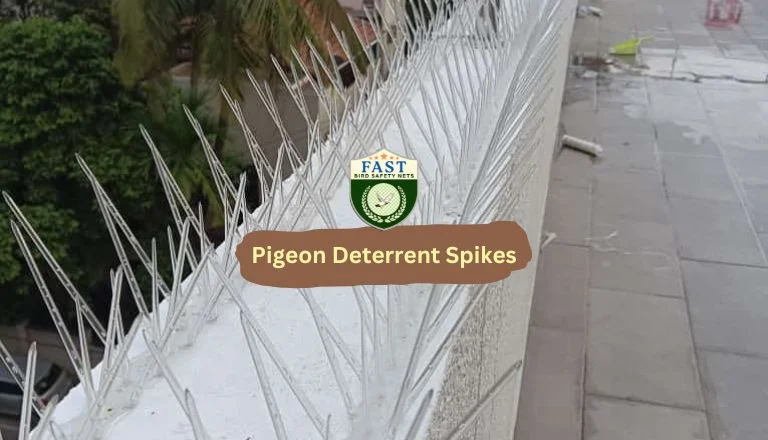
Pigeons can be a persistent nuisance, causing mess and potential damage to your property. Pigeon deterrent spikes are an effective and humane way to keep these birds at bay. Here’s a comprehensive step-by-step guide on installing pigeon deterrent spikes, brought to you by Fast Safety Nets Hyderabad.
Step 1: Gather Your Materials and Tools
Before starting the installation, ensure you have all the necessary materials and tools.
Materials Needed:
- Pigeon deterrent spikes
- Adhesive (preferably outdoor grade)
- Screws (optional, for extra security)
- Cleaning supplies (brush, cloth, detergent)
Tools Needed:
- Ladder (if needed)
- Measuring tape
- Marker or pencil
- Drill (optional)
Step 2: Clean the Installation Area
Thoroughly clean the surfaces where you will install the spikes. This ensures proper adhesion and effectiveness.
- Remove Debris: Brush off any loose dirt, dust, and bird droppings.
- Wash Surface: Use detergent and water to clean the area, then let it dry completely.
Step 3: Measure and Mark the Installation Area
Measure the length of the surface where you plan to install the spikes to ensure you cut the spike strips to the appropriate length.
- Measure: Use a measuring tape to determine the length.
- Mark: Use a marker or pencil to mark the starting and ending points.
Step 4: Cut the Spike Strips (If Necessary)
Most pigeon deterrent spikes come in strips that can be cut to fit your specific needs. Use scissors or a utility knife to cut the strips to the required length.
- Tip: Cut the spikes into manageable sections if the area is curved or uneven.
Step 5: Apply Adhesive
Apply a generous amount of adhesive to the base of the spike strips. Ensure the adhesive is suitable for outdoor use and can withstand weather conditions.
- Spread Evenly: Spread the adhesive evenly along the base.
- Press Firmly: Position the spike strip on the marked area and press down firmly to ensure good contact.
Step 6: Secure with Screws (Optional)
For additional security, especially in windy areas, you can use screws to anchor the spikes more firmly.
- Drill Holes: If necessary, drill small pilot holes through the base of the spike strip.
- Insert Screws: Use screws to secure the spike strip to the surface.
Step 7: Allow Adhesive to Cure
Give the adhesive ample time to cure as per the manufacturer’s instructions. This usually takes several hours.
- Tip: Avoid disturbing the spikes during the curing period for best results.
Step 8: Inspect the Installation
Once the adhesive has cured, inspect the installation to ensure the spikes are securely in place and there are no loose sections.
- Inspection Points: Check for firm adhesion, no gaps, and even placement.
Why Choose Fast Safety Nets Hyderabad?
At Fast Safety Nets Hyderabad, we provide high-quality pigeon spikes and professional installation services. Our experts ensure that your property is protected effectively and efficiently from pigeon-related problems.
Conclusion
Installing pigeon deterrent spikes is a simple and effective way to prevent pigeons from roosting on your property. By following this step-by-step guide and choosing Fast Safety Nets Hyderabad, you can maintain a clean and pigeon-free environment. Contact us today for more information and professional assistance with your pigeon control needs.
Protect your property from pigeons with Fast Safety Nets Hyderabad!


