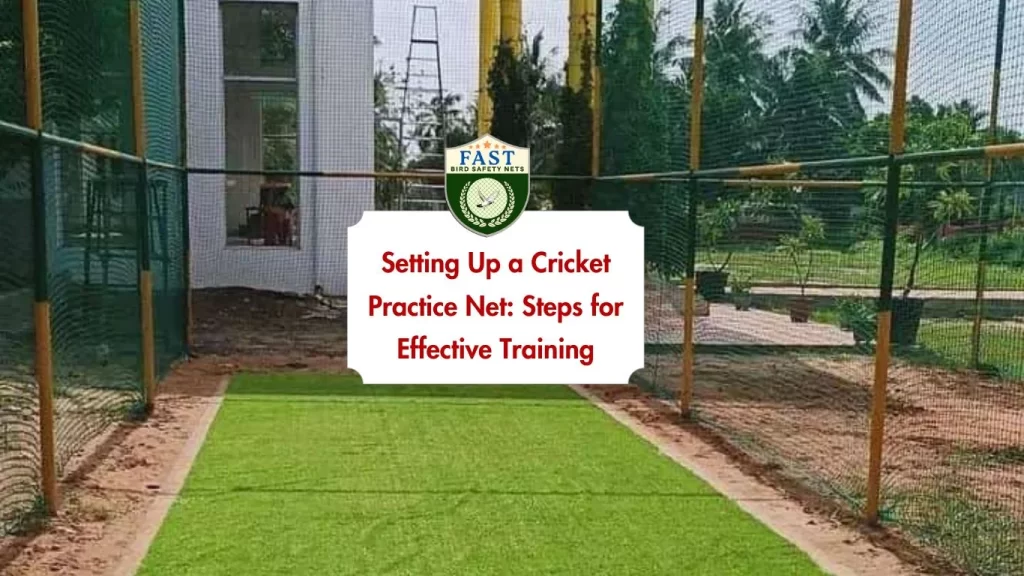

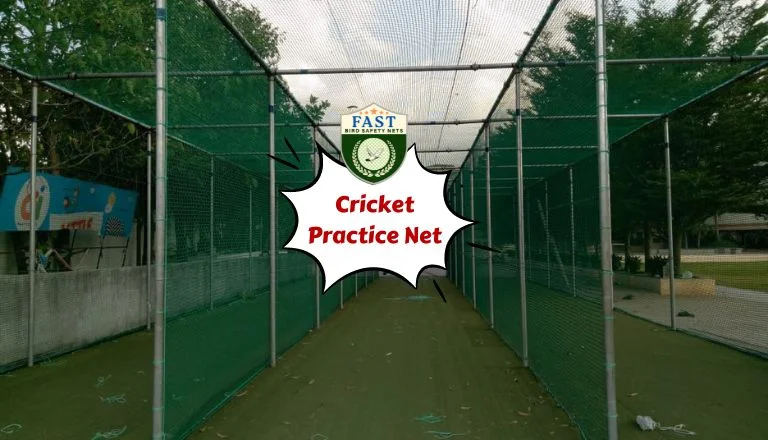
Creating a dedicated space for cricket practice at home or in a club can significantly improve your training regimen. Fast Safety Nets Hyderabad provides high-quality cricket practice nets designed to enhance your training experience. Here’s a step-by-step guide to setting up a cricket practice net for effective training:
Benefits of Cricket Practice Nets
- Focused Practice: Allows for uninterrupted practice sessions.
- Safety: Prevents balls from causing damage or injuries.
- Skill Improvement: Facilitates regular batting, bowling, and fielding practice.
- Convenience: Provides a dedicated space for cricket practice at any time.
- Durability: Made from strong materials that withstand regular use and various weather conditions.
Features of Fast Safety Nets Hyderabad
- High-Quality Materials: Durable and weather-resistant nets.
- Customization: Tailored solutions to fit the specific dimensions of your practice area.
- Professional Installation: Expert technicians ensure secure and effective installation.
- Affordable Pricing: Competitive rates for premium quality products and services.
- Comprehensive Support: From consultation to post-installation support.
Step-by-Step Installation Guide
- Preparation:
- Space Selection: Choose a flat and open area suitable for setting up the cricket net, such as a backyard, terrace, or a designated space at a club.
- Measurement: Measure the dimensions of the area to determine the size of the cricket net required.
- Gathering Tools and Materials:
- Tools: Collect necessary tools like a measuring tape, poles, hooks, anchors, a drill, and a ladder.
- Materials: Ensure you have the cricket net, poles, and all necessary installation hardware.
- Installation Process:
- Pole Placement: Position the poles at the corners and sides of the practice area. Ensure they are evenly spaced and securely anchored into the ground or fixed to the walls.
- Attaching the Net: Secure the net to the poles using hooks, clips, or ties. Make sure the net is stretched taut to prevent sagging.
- Securing the Base: Anchor the base of the net to the ground using pegs or weights to keep it stable.
- Safety Padding: Consider adding padding to the poles to prevent injuries during practice sessions.
- Quality Check: Inspect the entire setup to ensure the net is securely attached and the area is safe for practice.
- Maintenance:
- Regular Inspection: Check the net regularly for any signs of wear and tear. Replace or repair damaged sections promptly.
- Cleaning: Keep the net clean to maintain its durability and performance. Remove any debris or dirt regularly.
Additional Tips for Effective Training
- Safety Gear: Always use appropriate safety gear, including helmets, pads, and gloves.
- Lighting: Install adequate lighting if you plan to practice during early mornings or evenings.
- Regular Drills: Incorporate a variety of drills to work on different aspects of your game, including batting, bowling, and fielding.
- Consistency: Establish a regular practice schedule to ensure consistent improvement.
- Supervision: If children are using the practice net, ensure they are supervised by an adult to prevent accidents.
Conclusion
Setting up a cricket practice net with Fast Safety Nets Hyderabad provides a safe and dedicated space for effective cricket training. By following this step-by-step guide, you can ensure a secure and professional setup that enhances your practice sessions. With high-quality materials and professional installation, Fast Safety Nets Hyderabad helps you take your cricket skills to the next level.


